Become a Pro Member
Follow this step-by-step guide to upgrade your Linkar account and unlock professional features like Cloud Sync and Advanced Key Management.
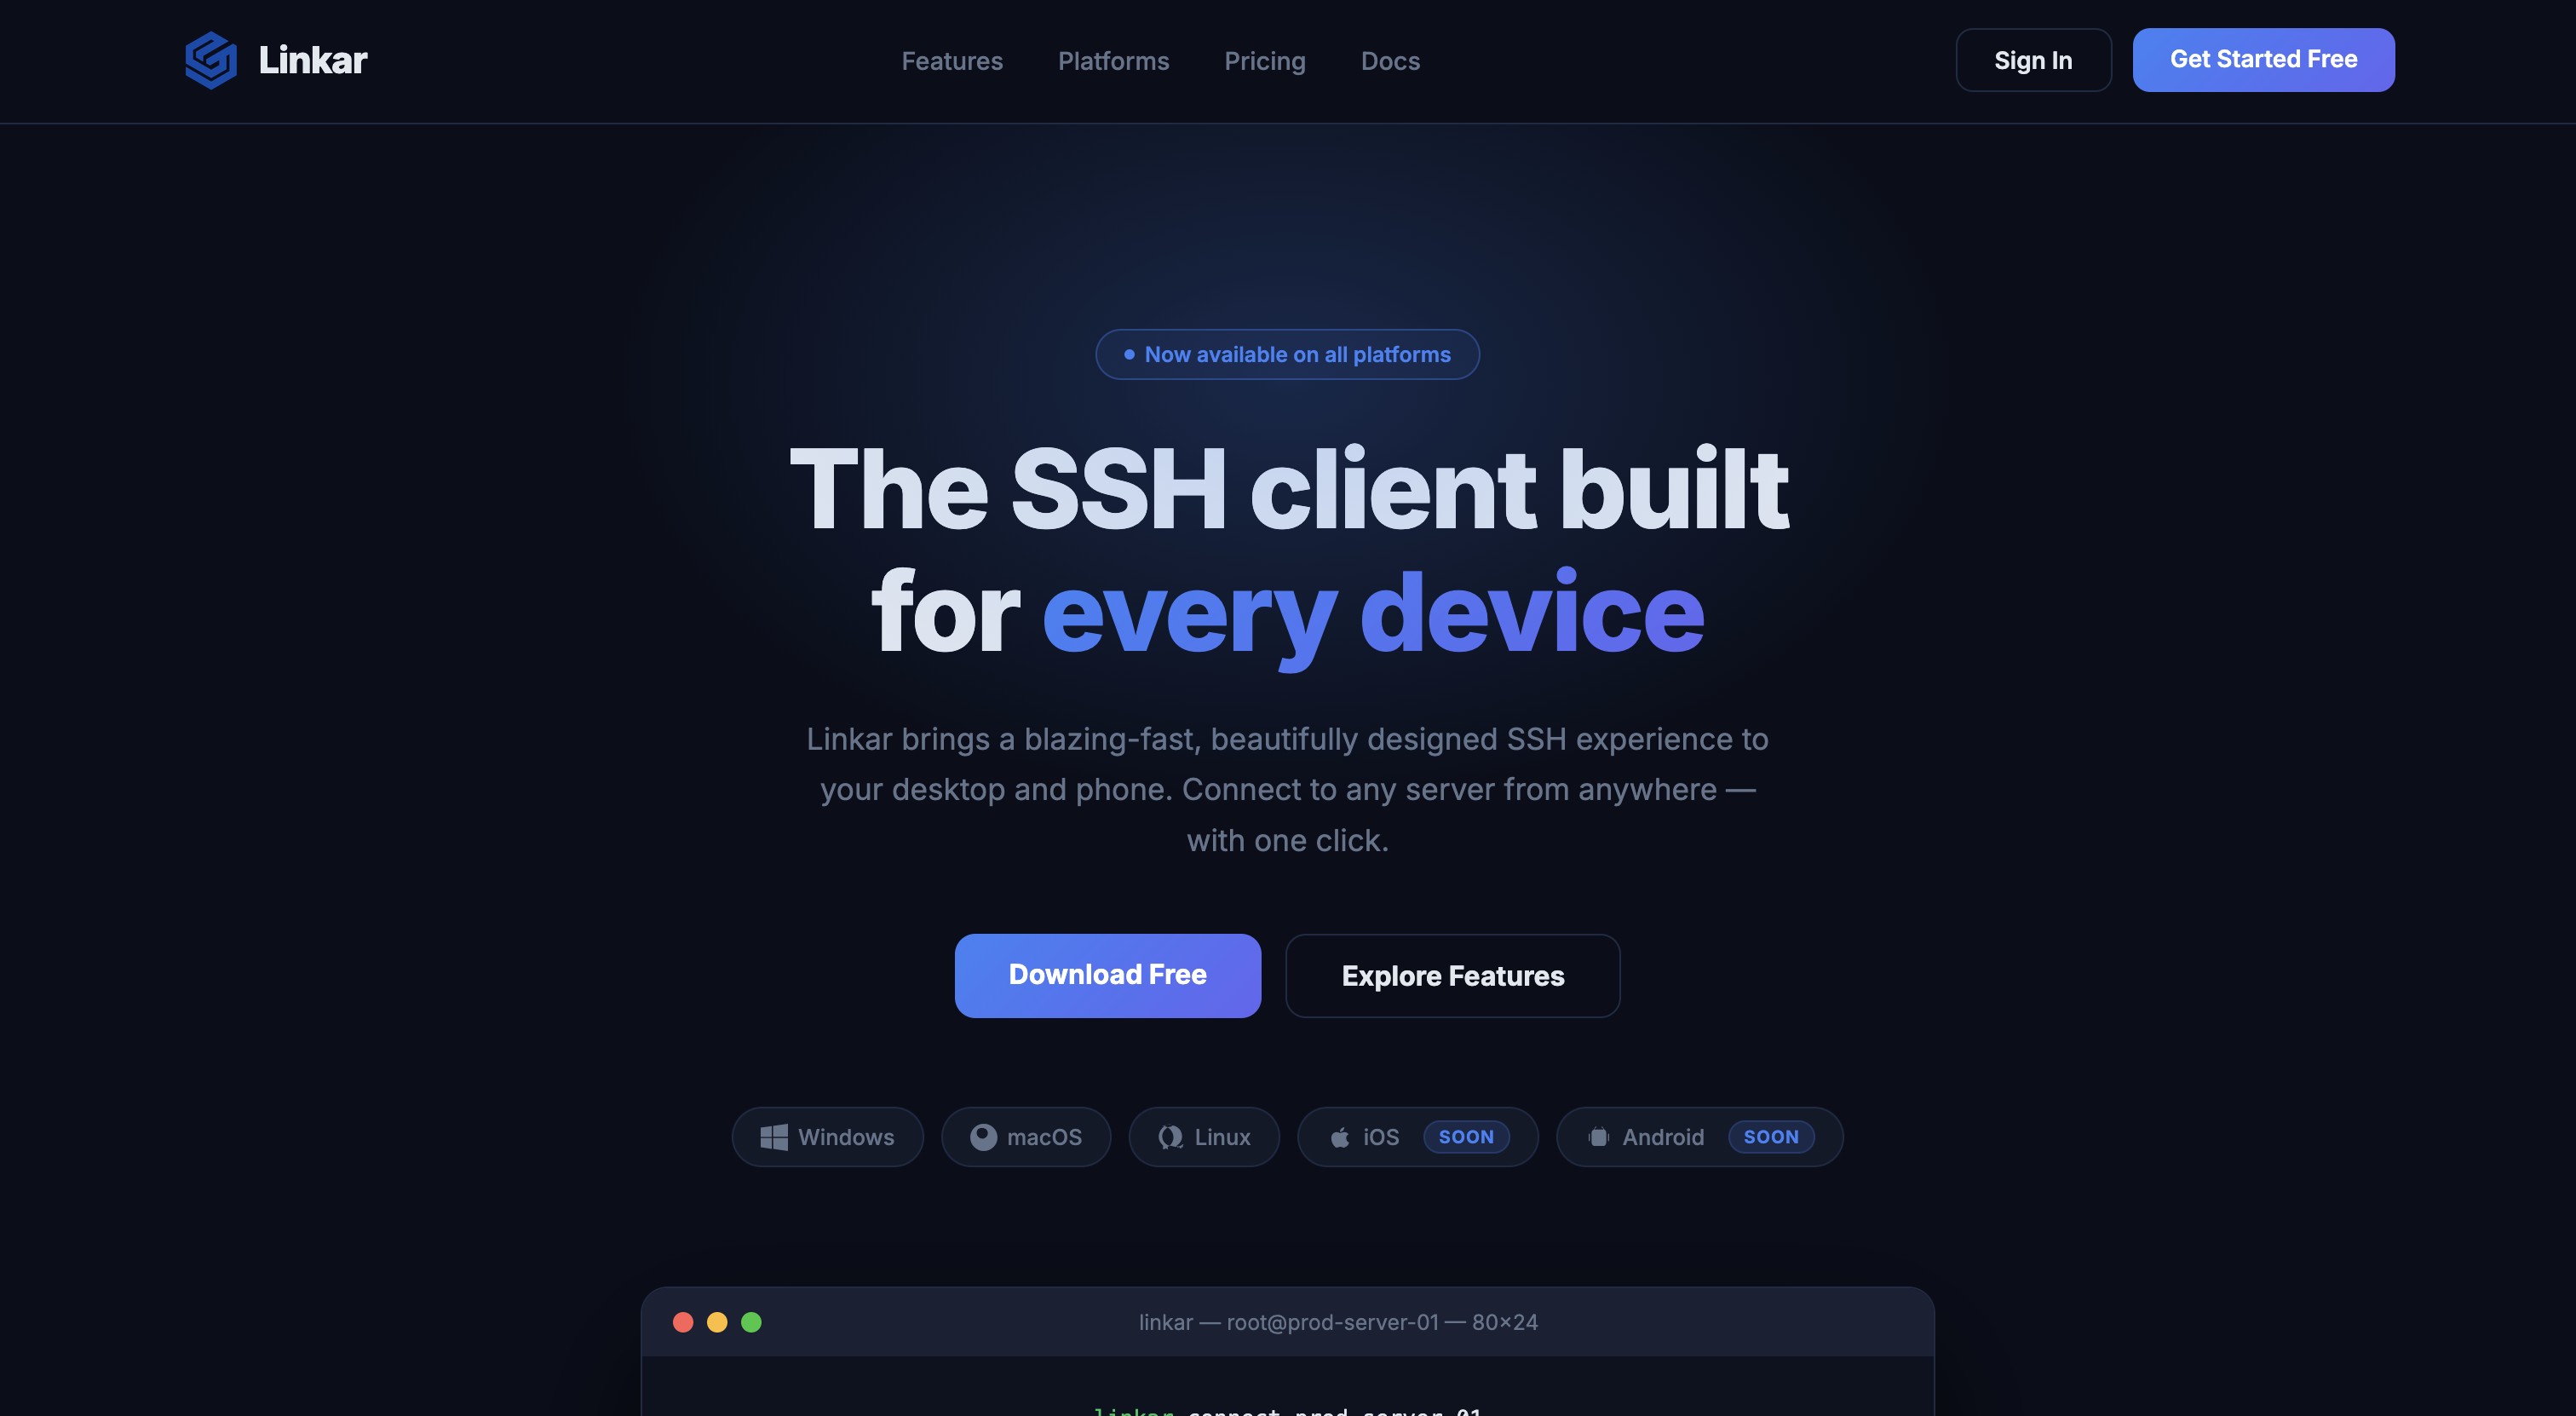
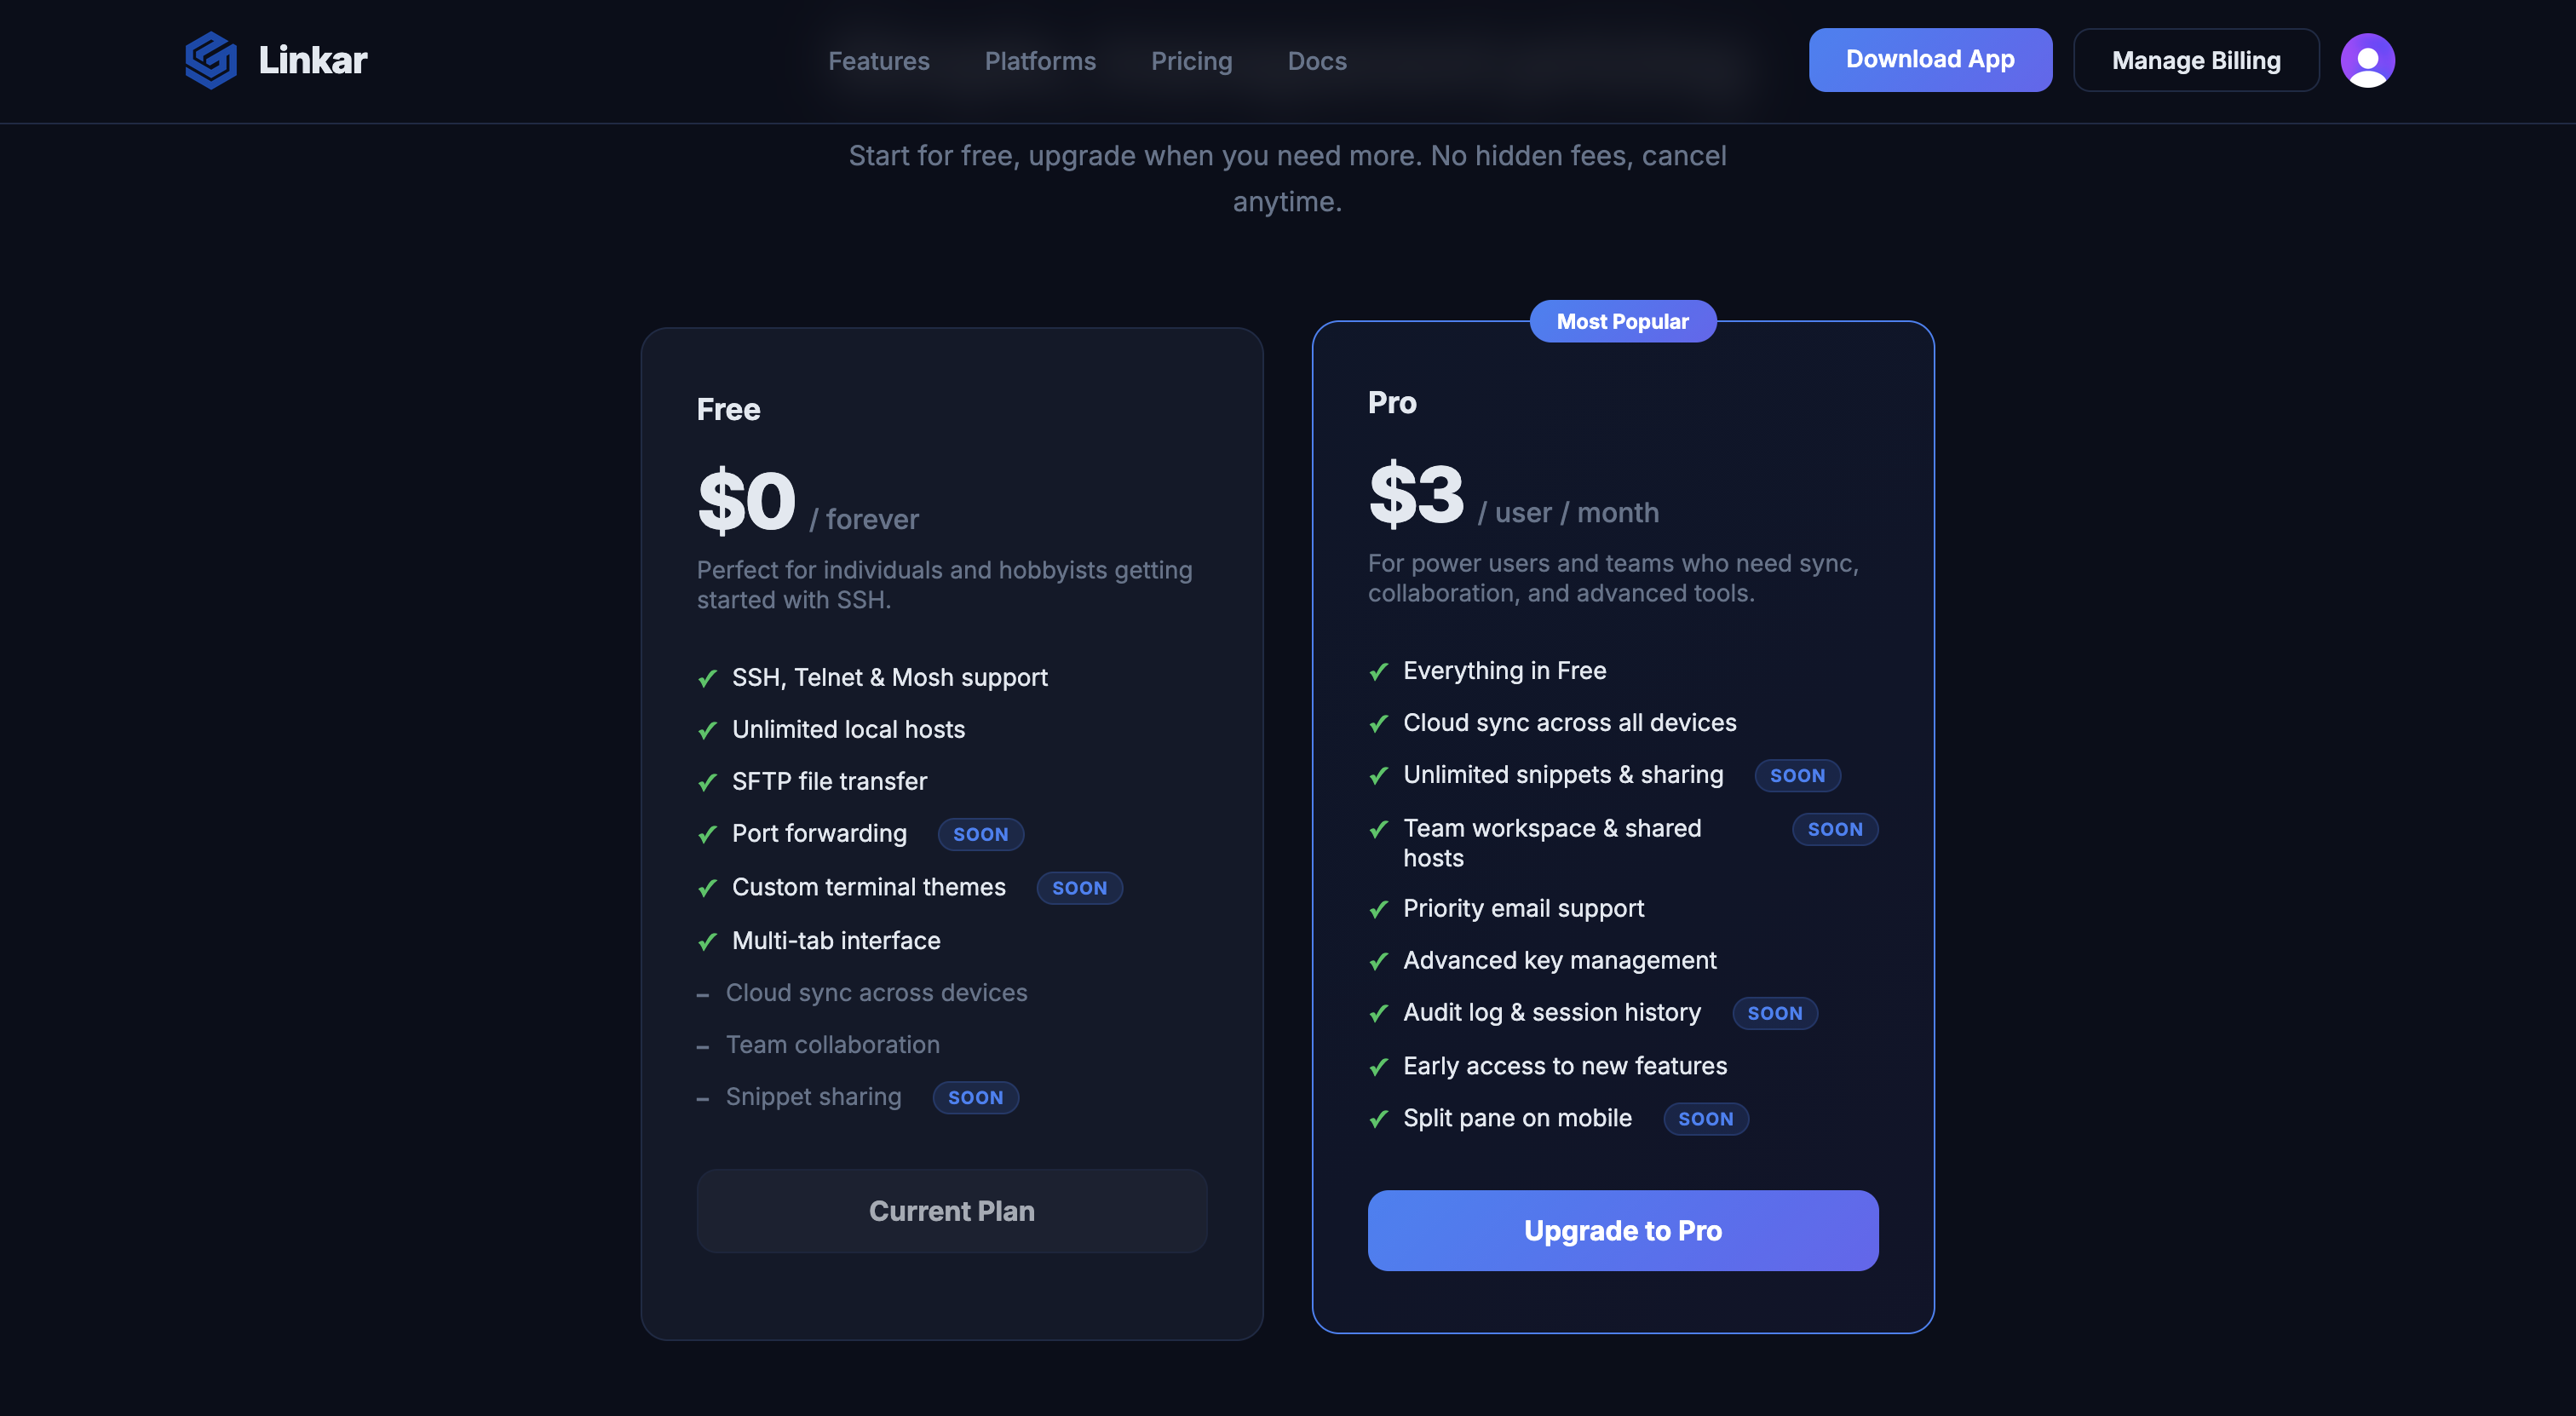
Visit the Linkar Landing Page
Navigate to the official Linkar website and scroll down to the pricing section to see our available plans.
Select the Pro Plan
Find the "Pro" tier card and click the "Start Pro — $3/mo" button to begin the upgrade process.
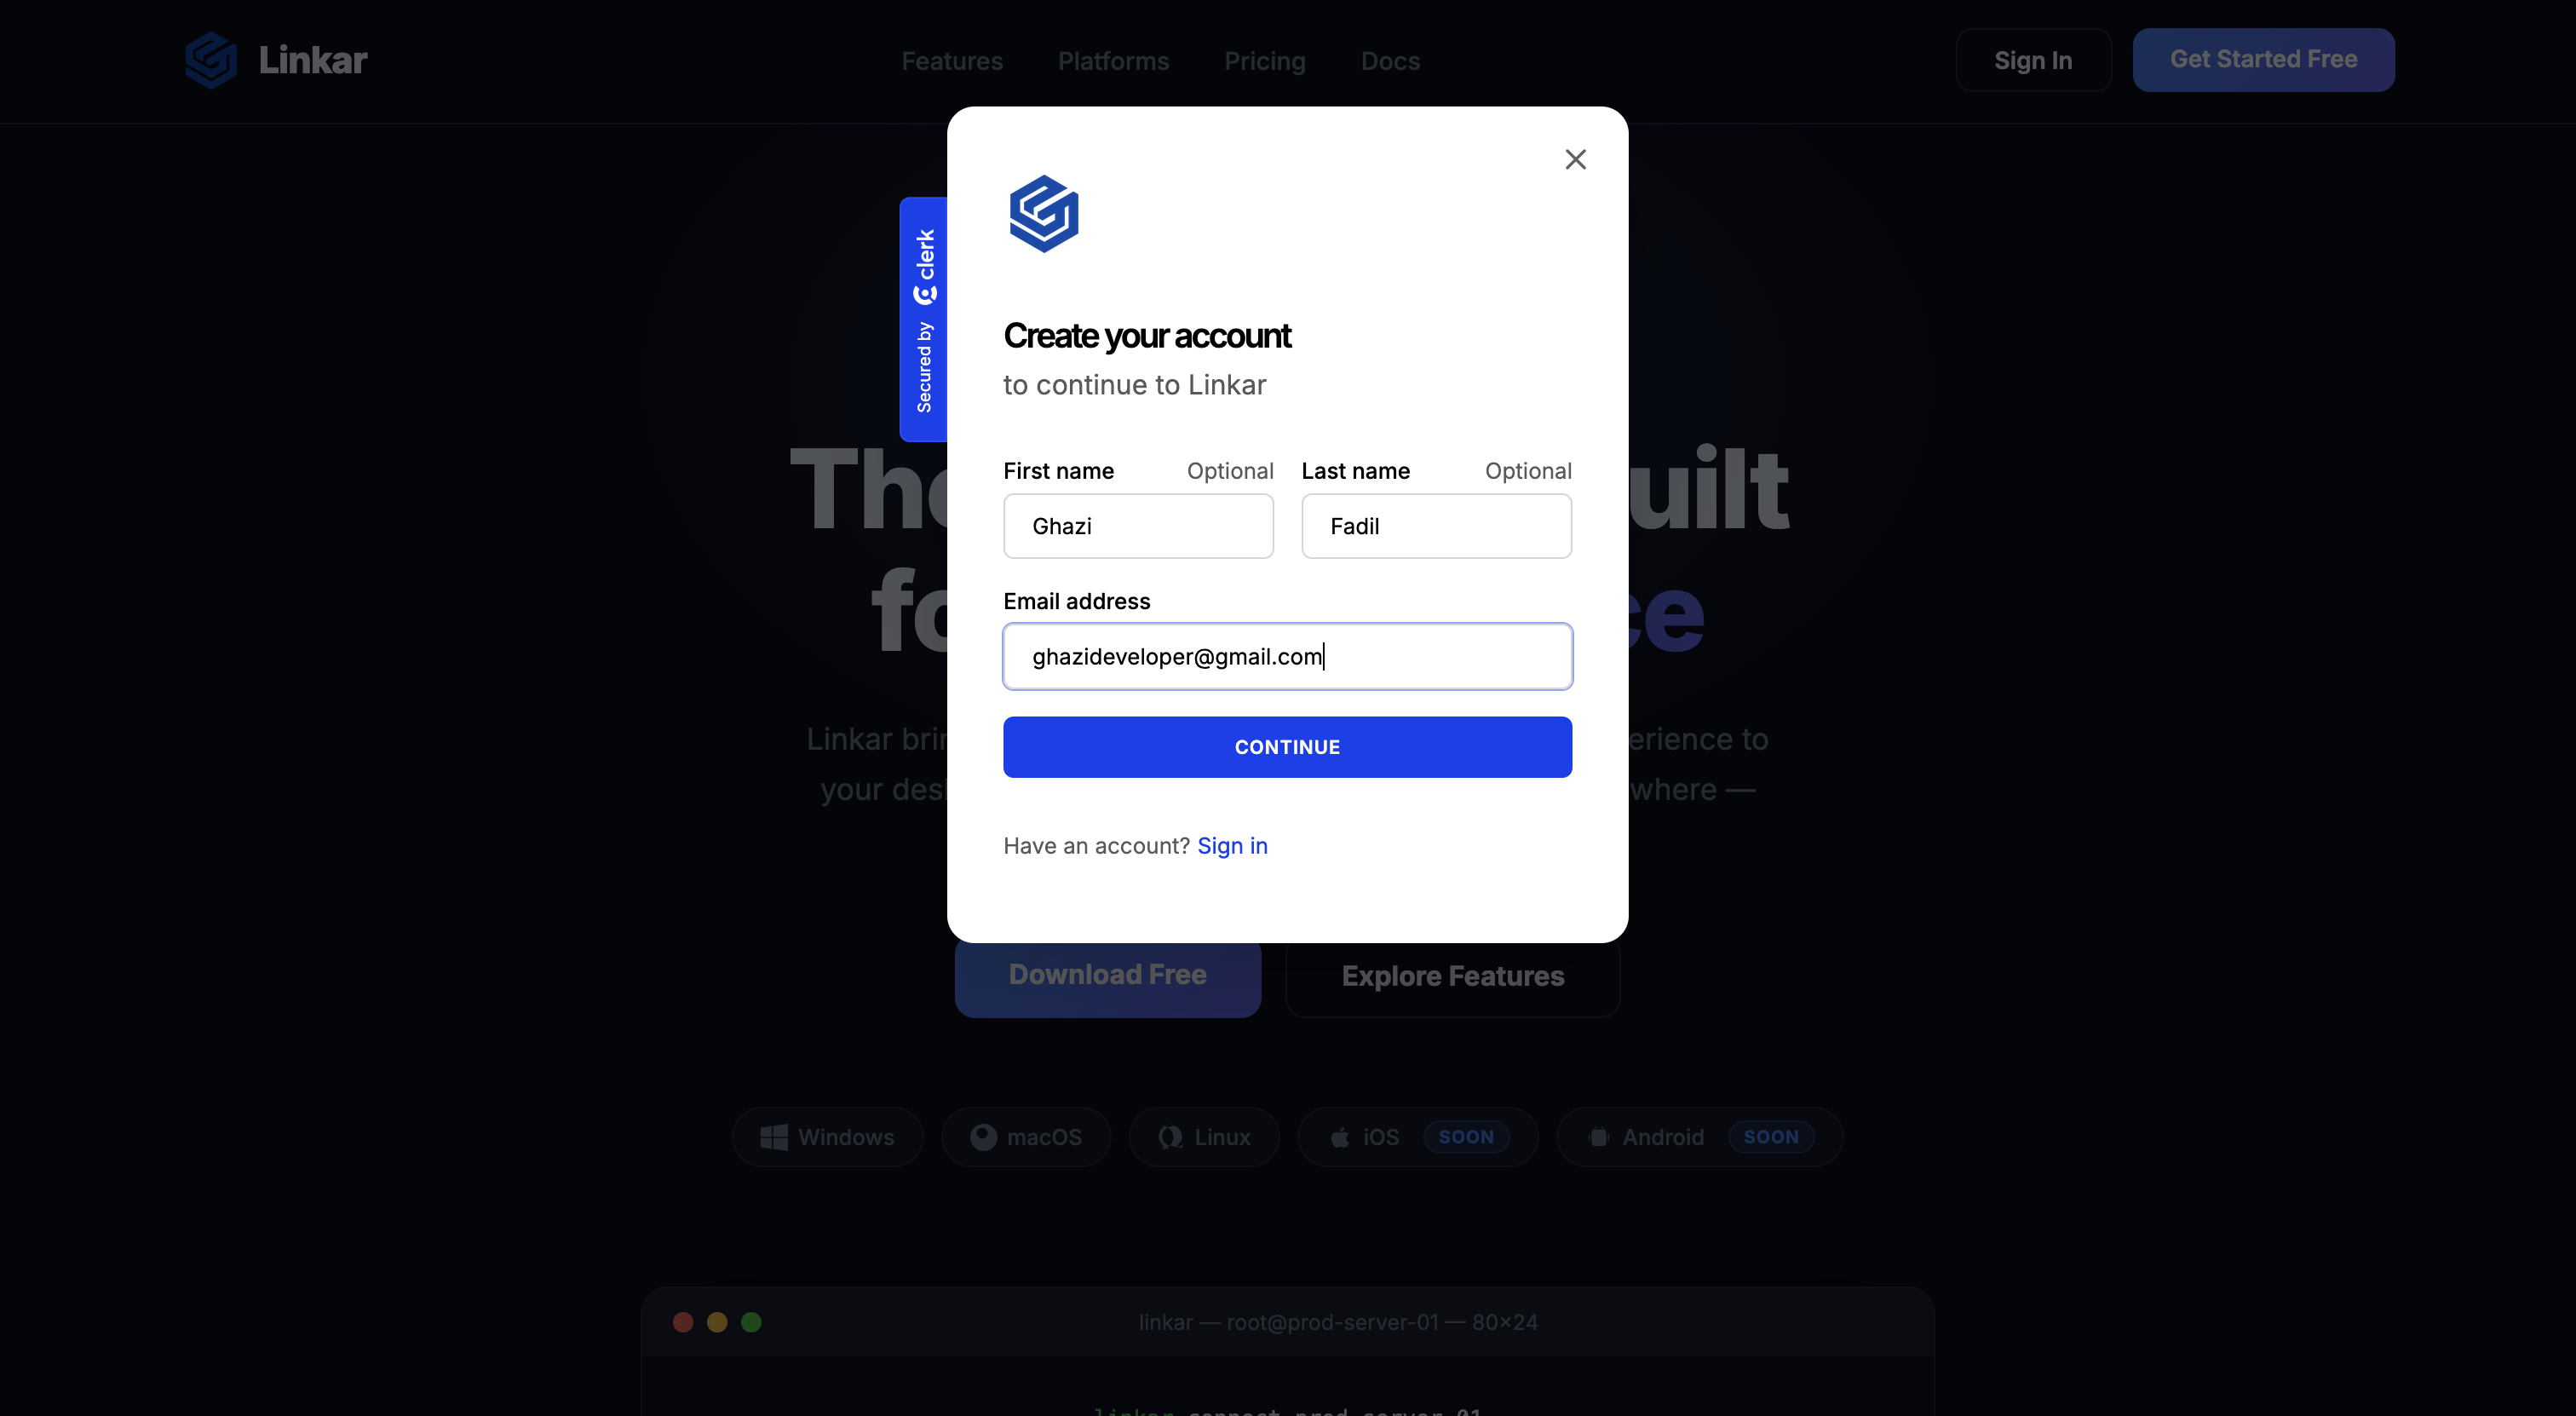
Sign In or Sign Up
You'll be prompted to log in to your Linkar account via Clerk. If you don't have an account yet, you can create one in seconds.
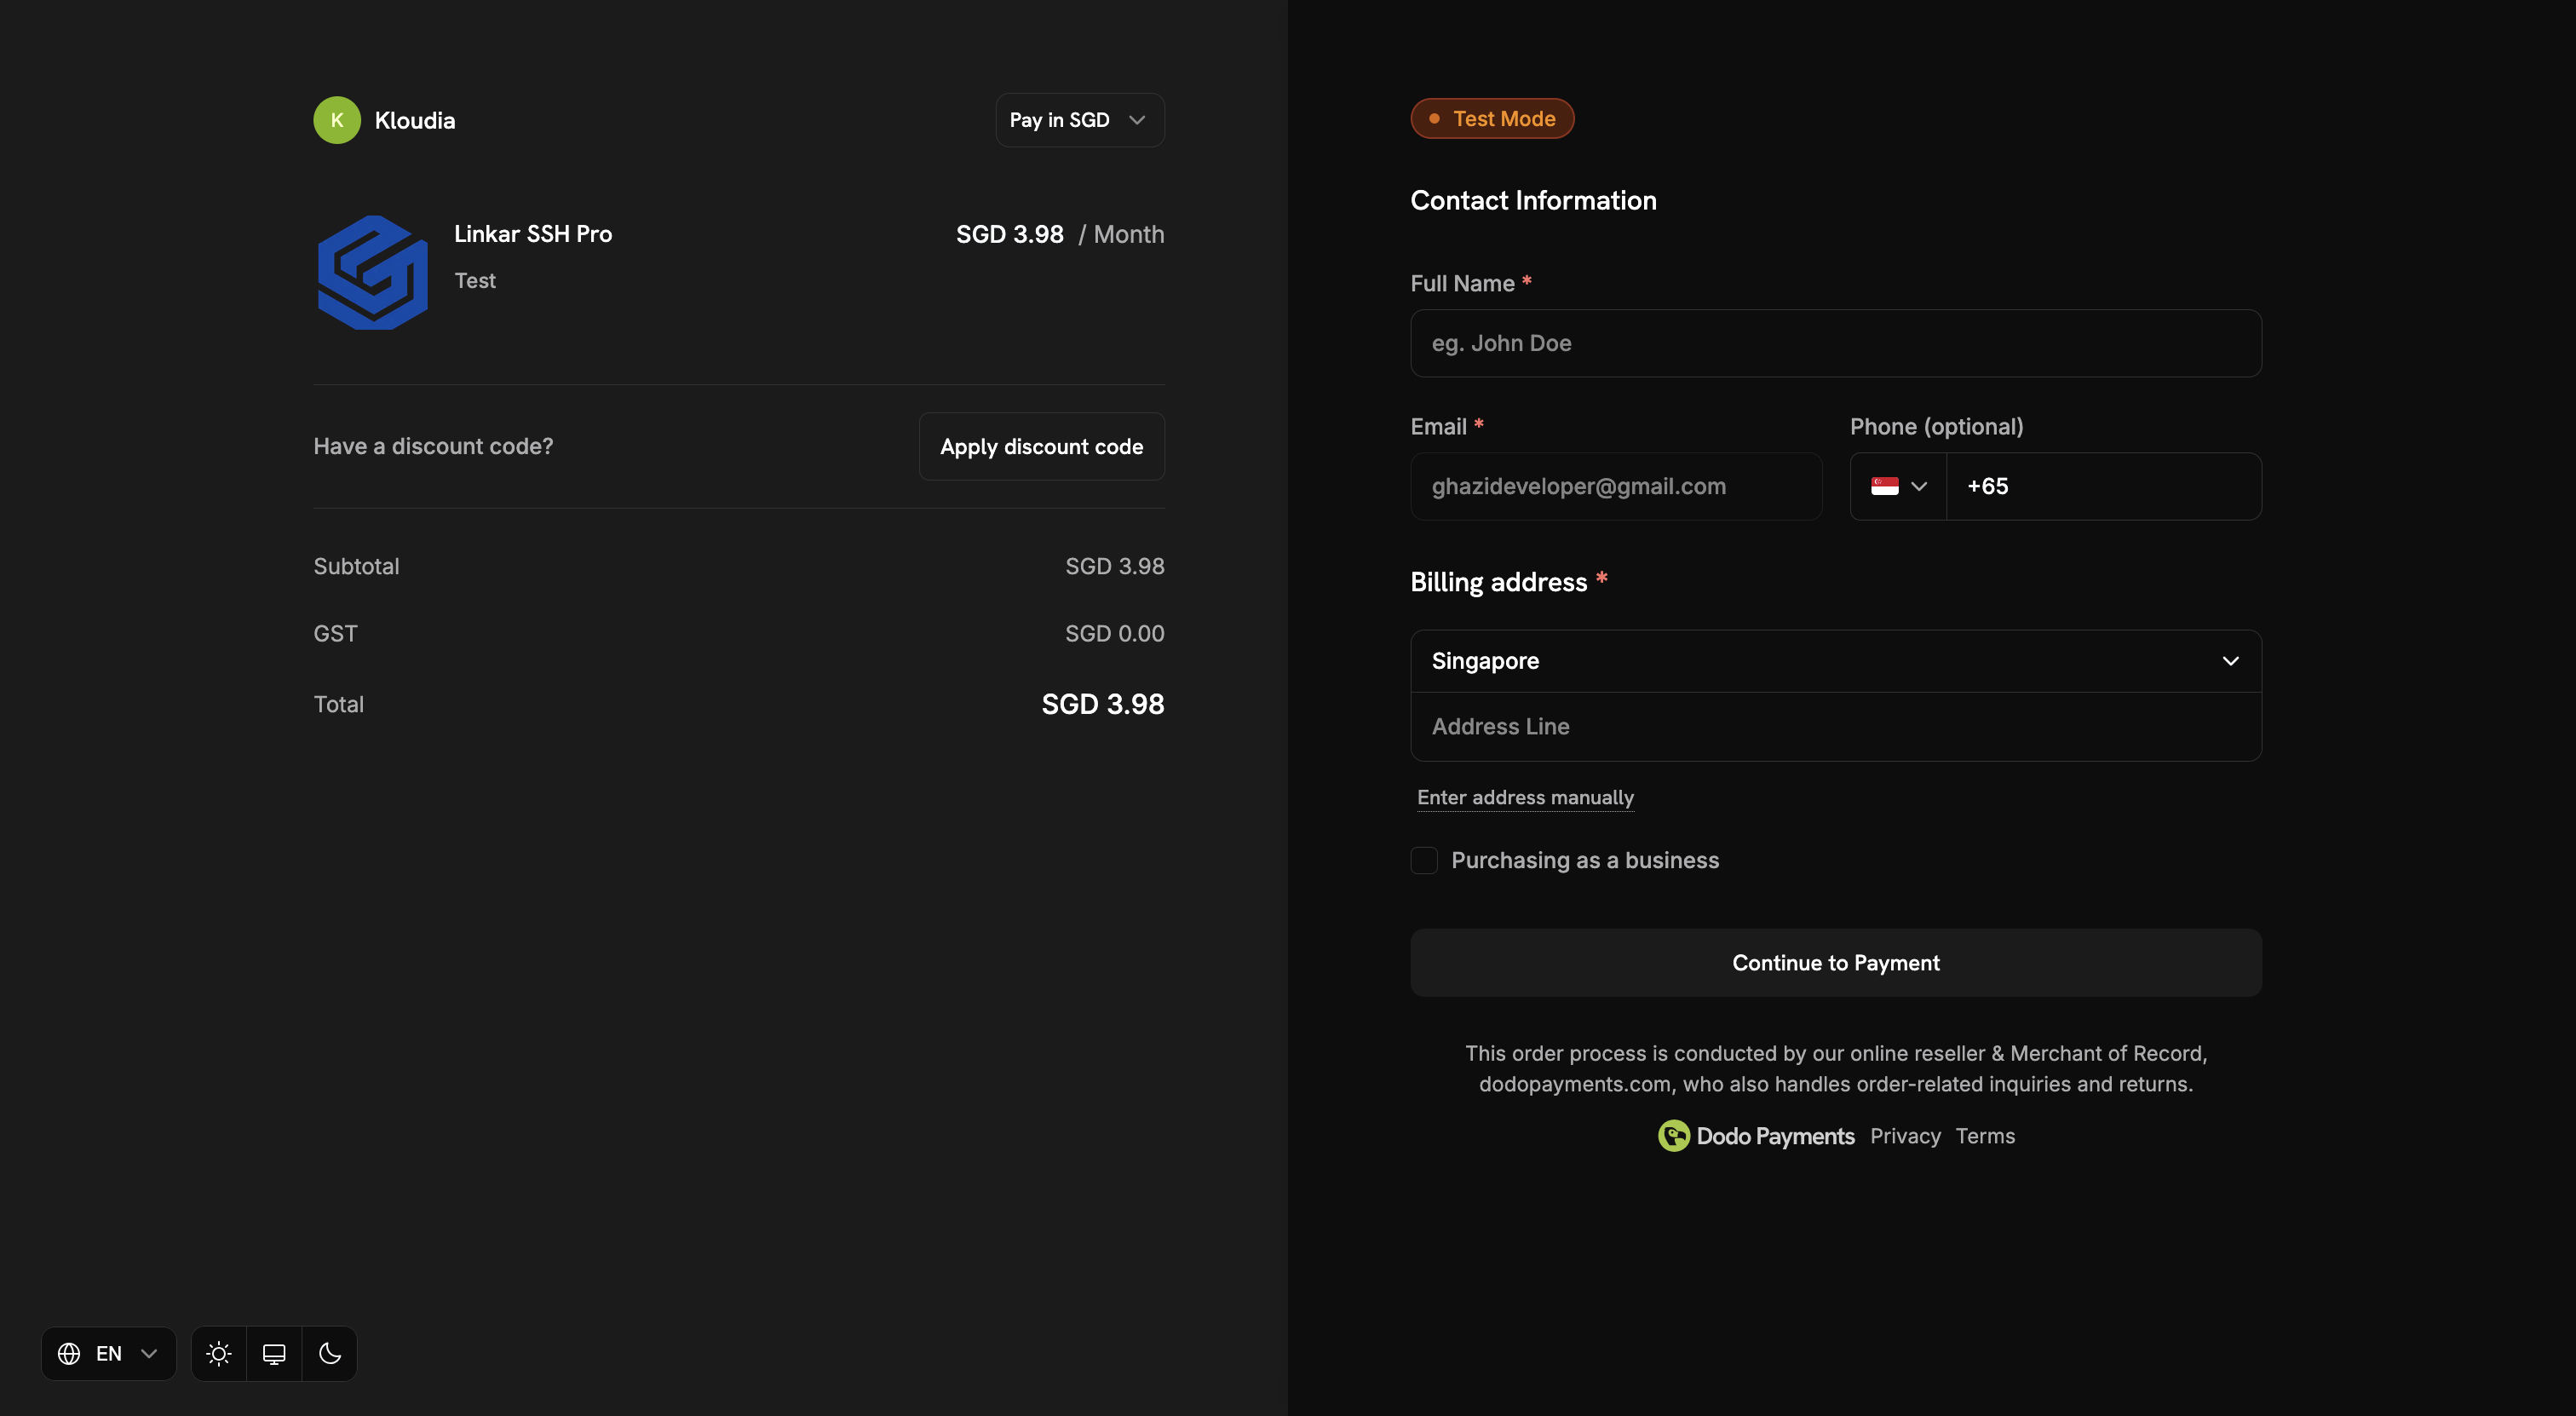
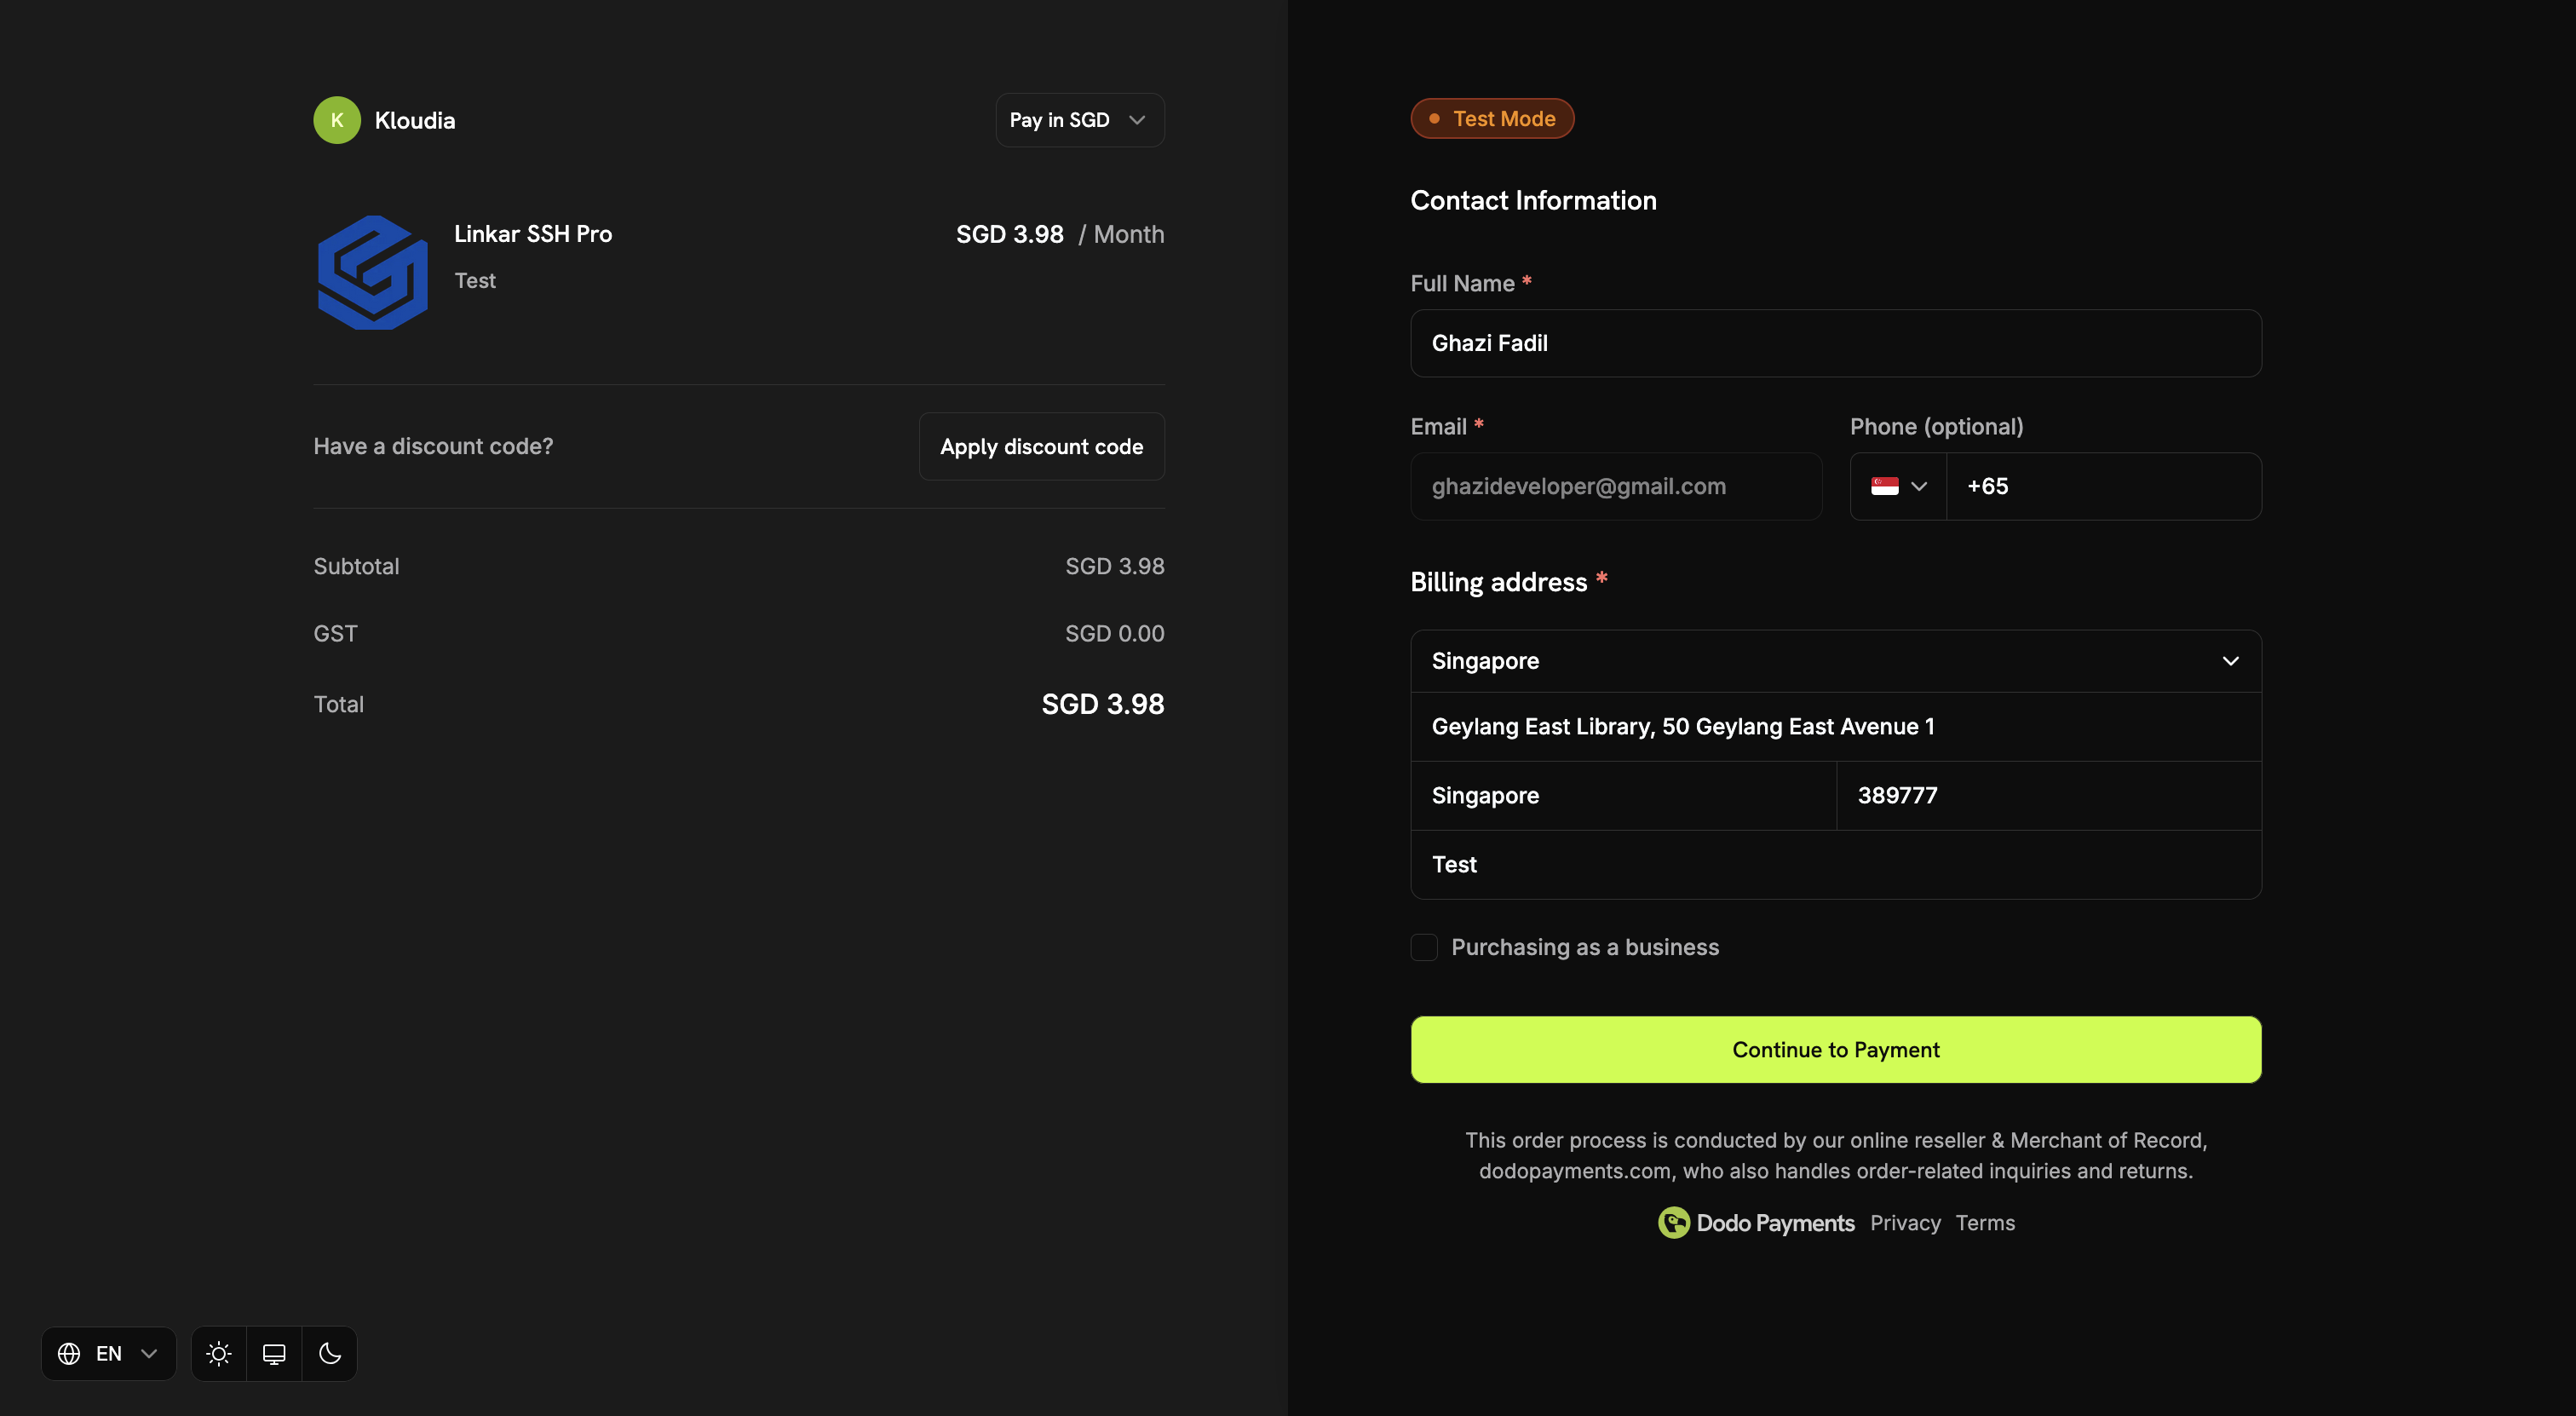
Initiate Checkout
Once signed in, click the "Upgrade to Pro" button again. You will be redirected to our secure checkout portal.
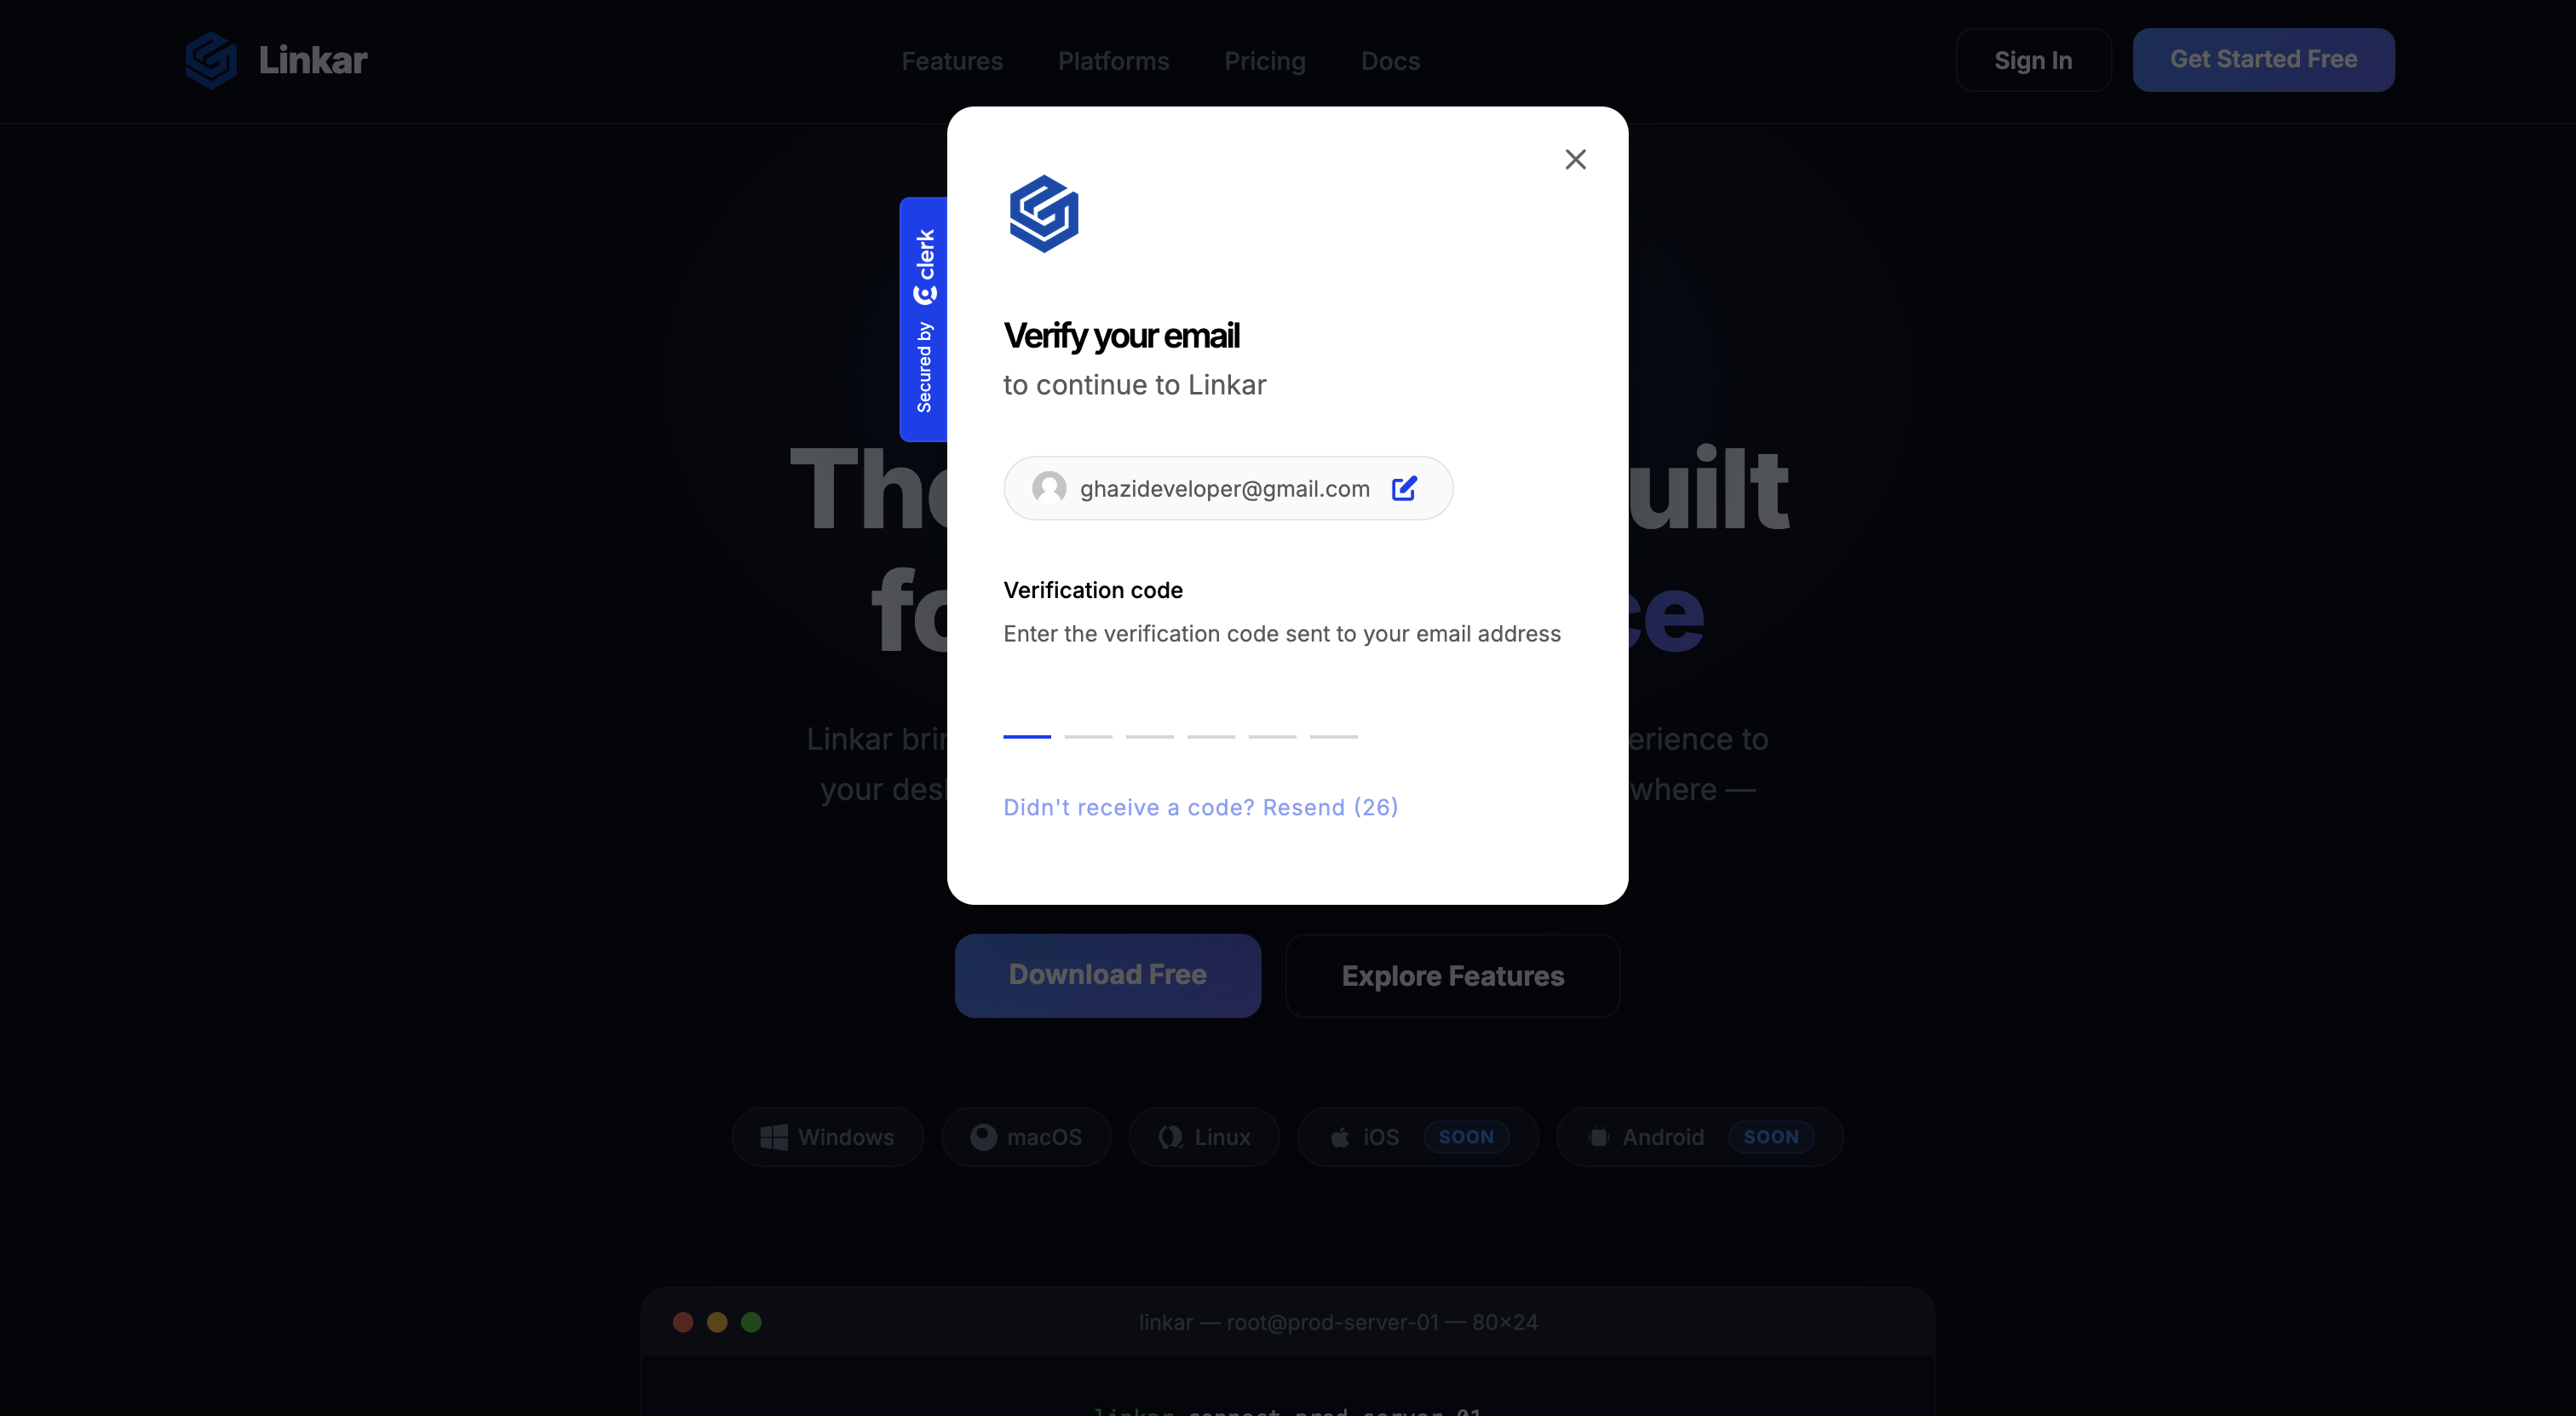
Enter Your Email
Verify your email address in the checkout portal to ensure your subscription is linked to the correct account.
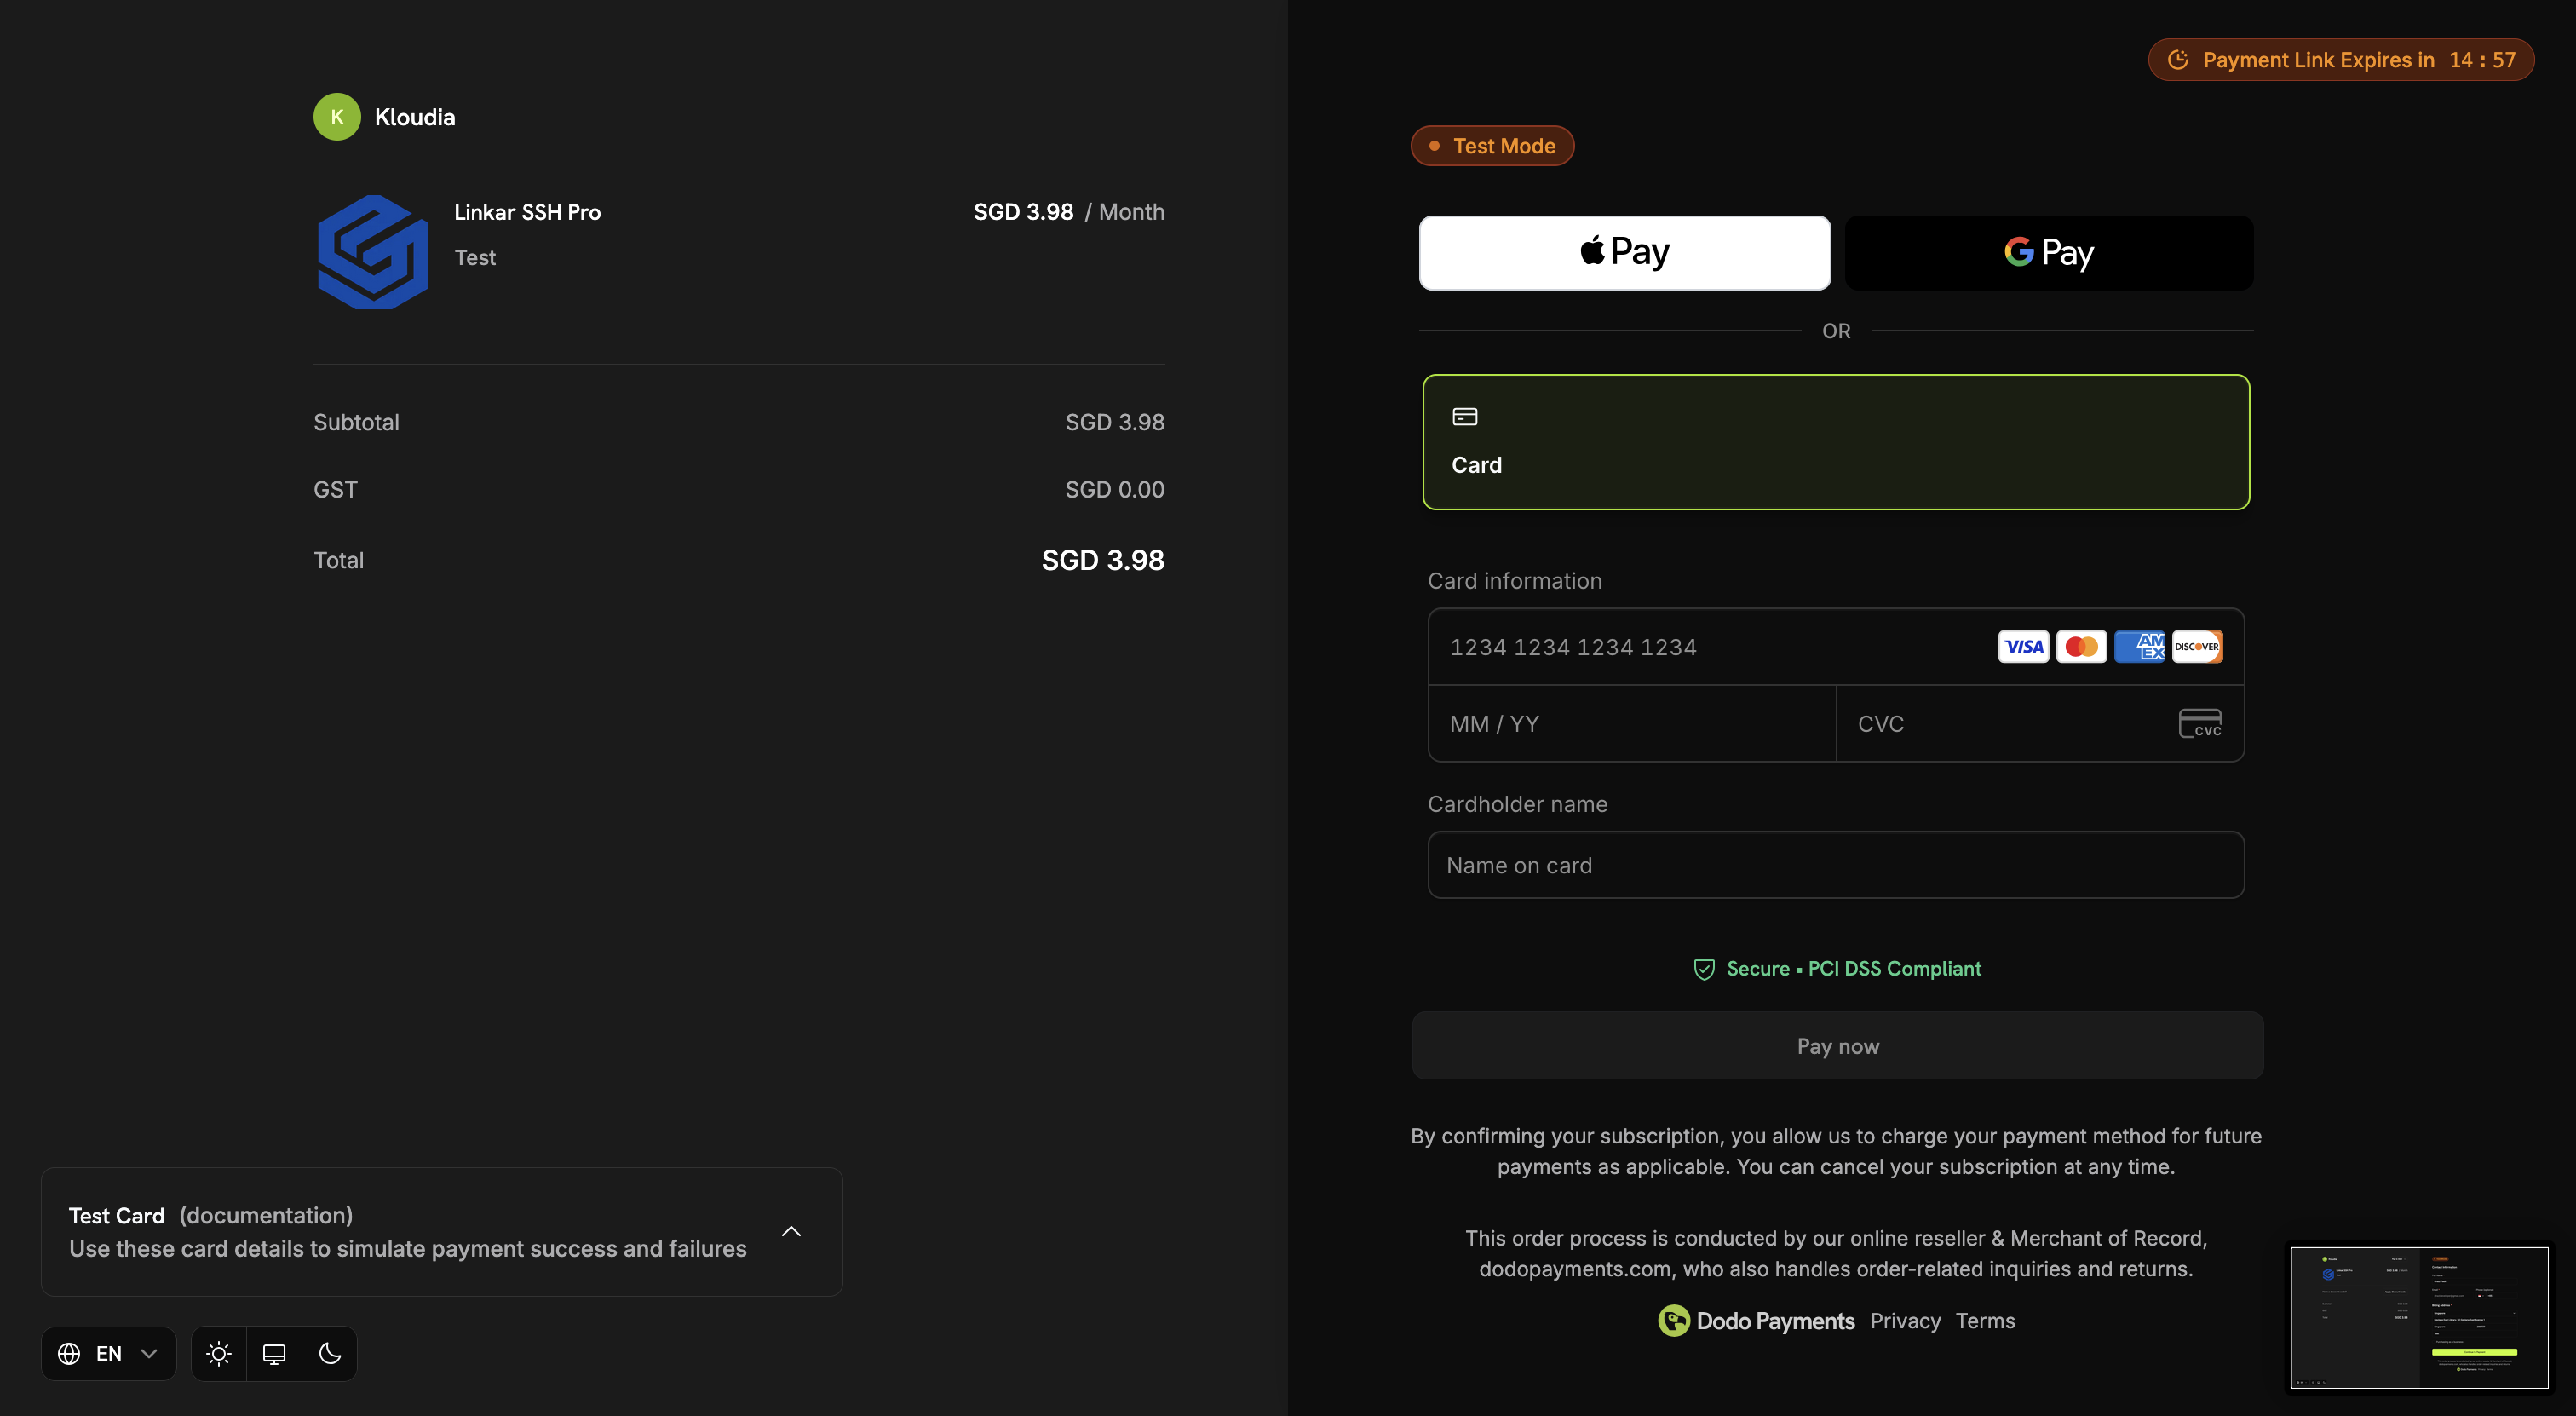
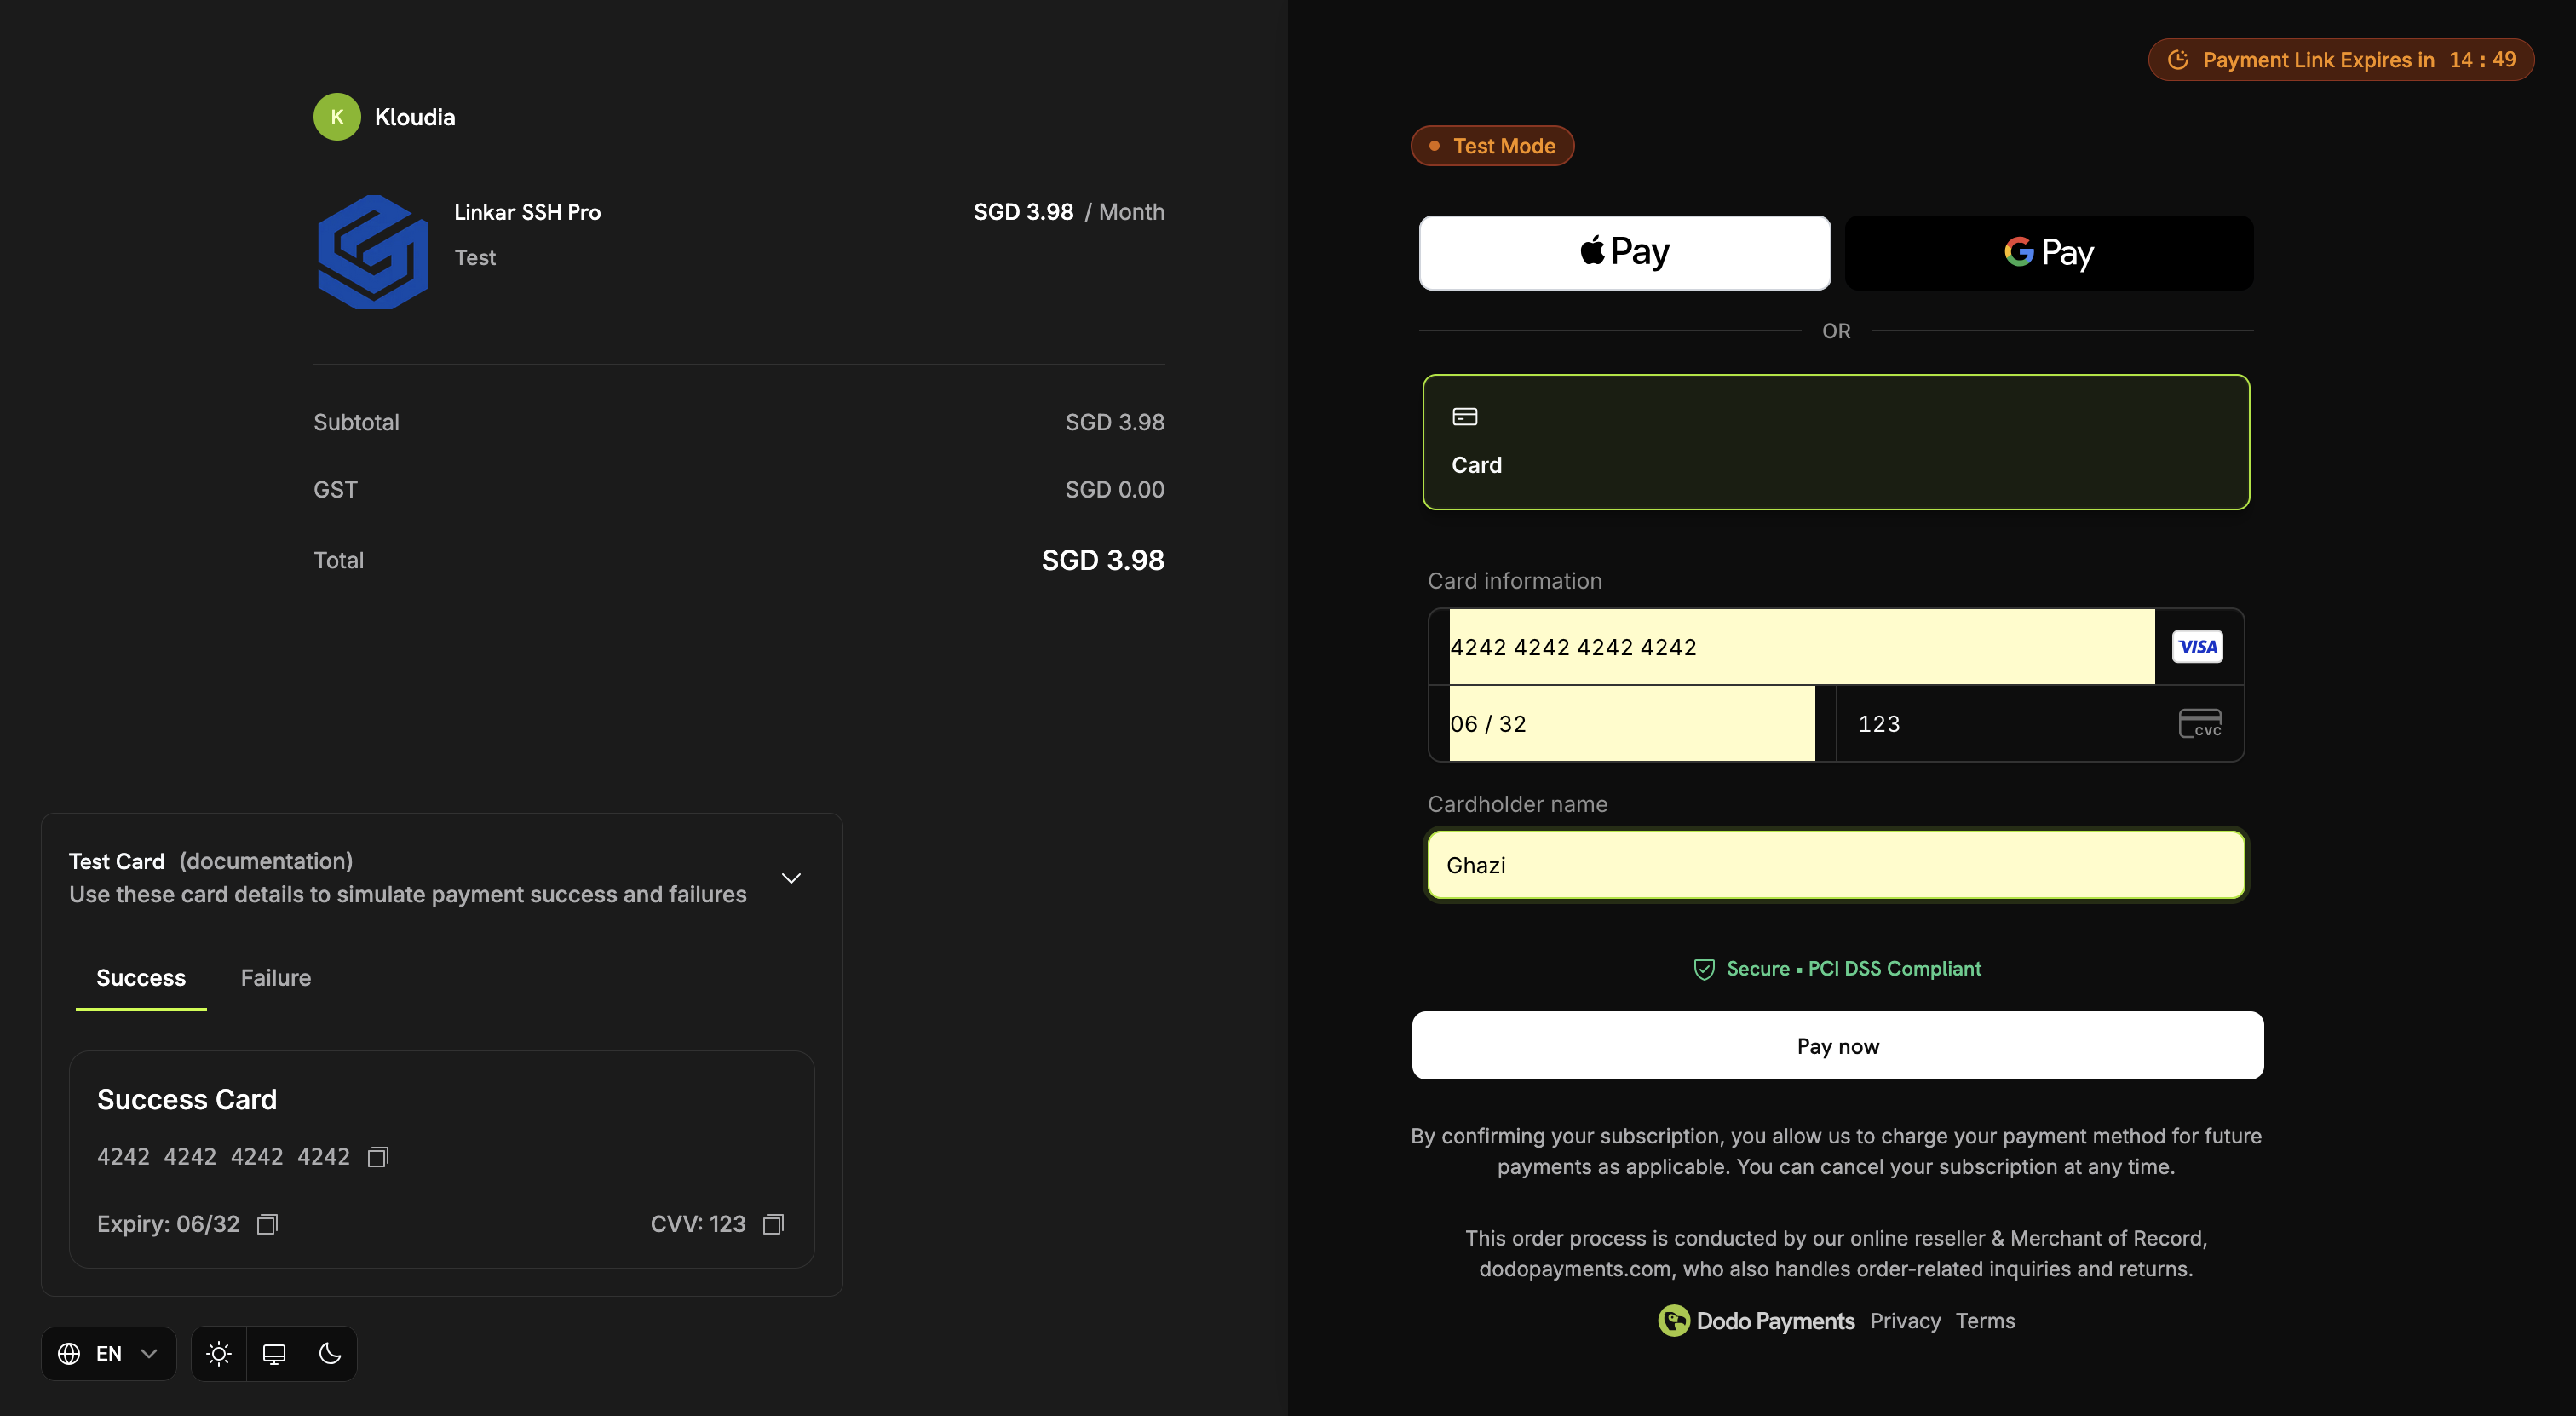
Enter Payment Details
Fill in your credit card information or choose your preferred payment method in the secure payment form.
Review and Confirm
Double-check your subscription details and click the "Subscribe" or "Pay" button to finalize your purchase.
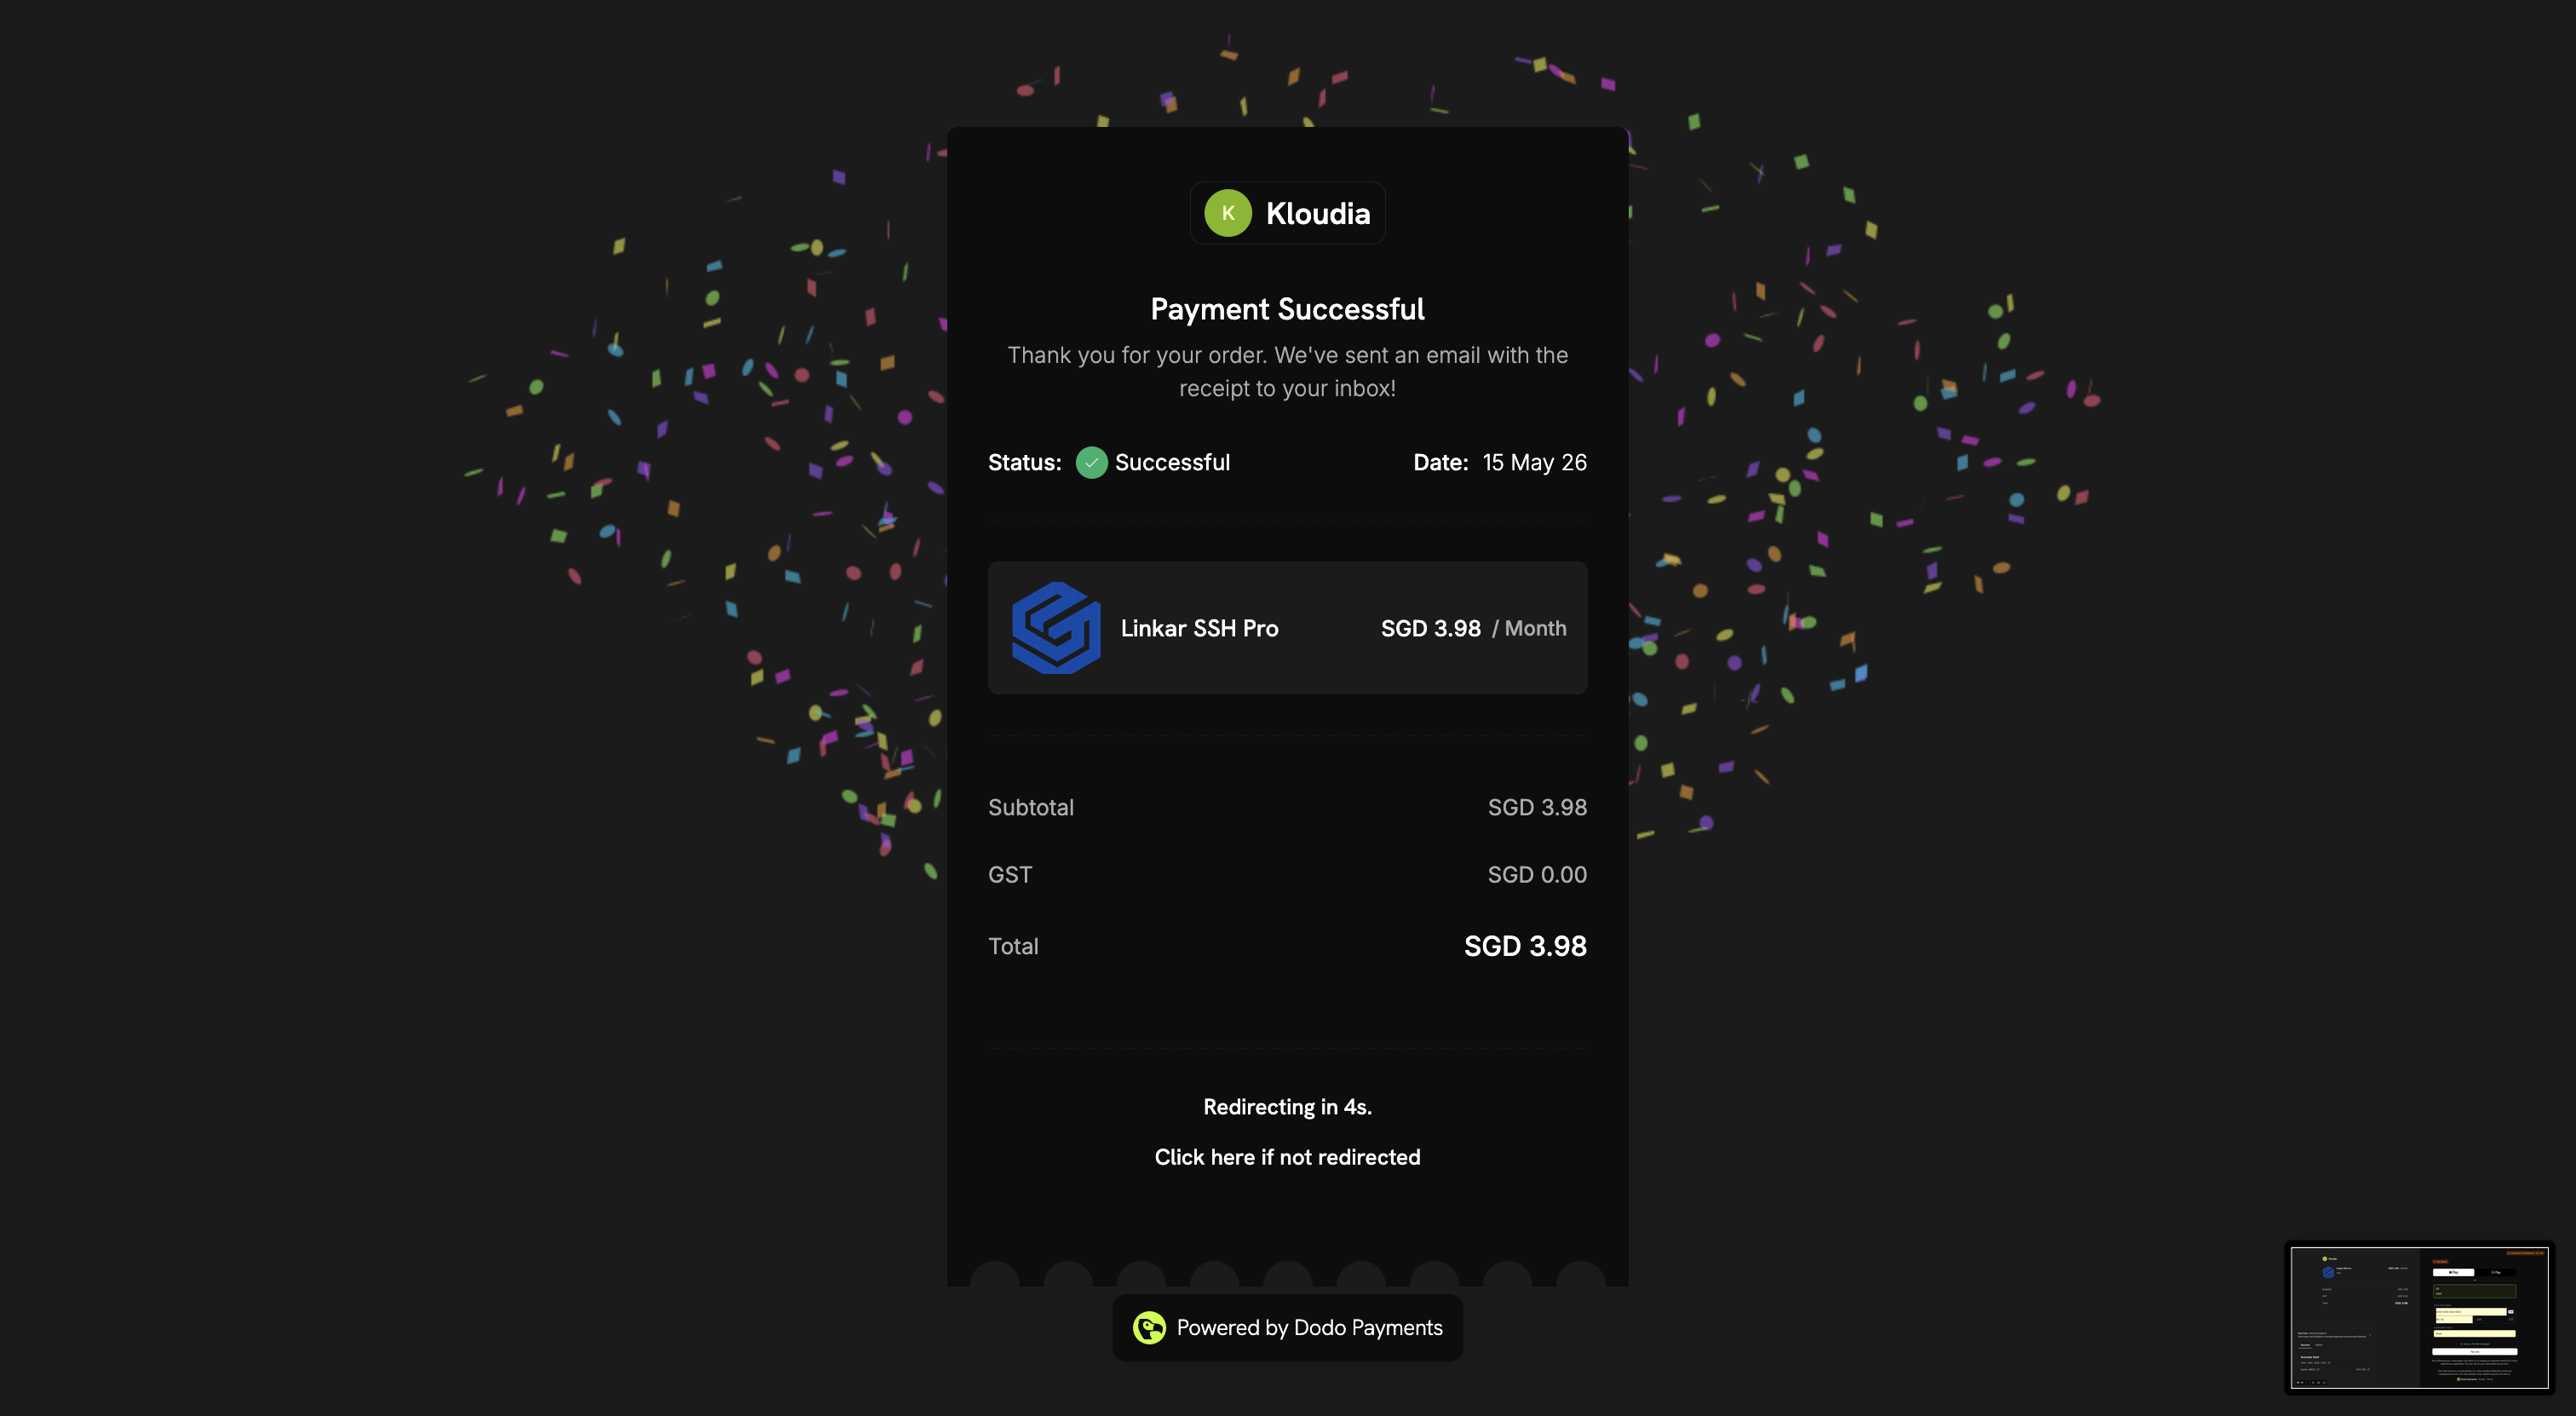
Payment Successful
Congratulations! You are now a Pro user. You will see a success message and can now return to the application.
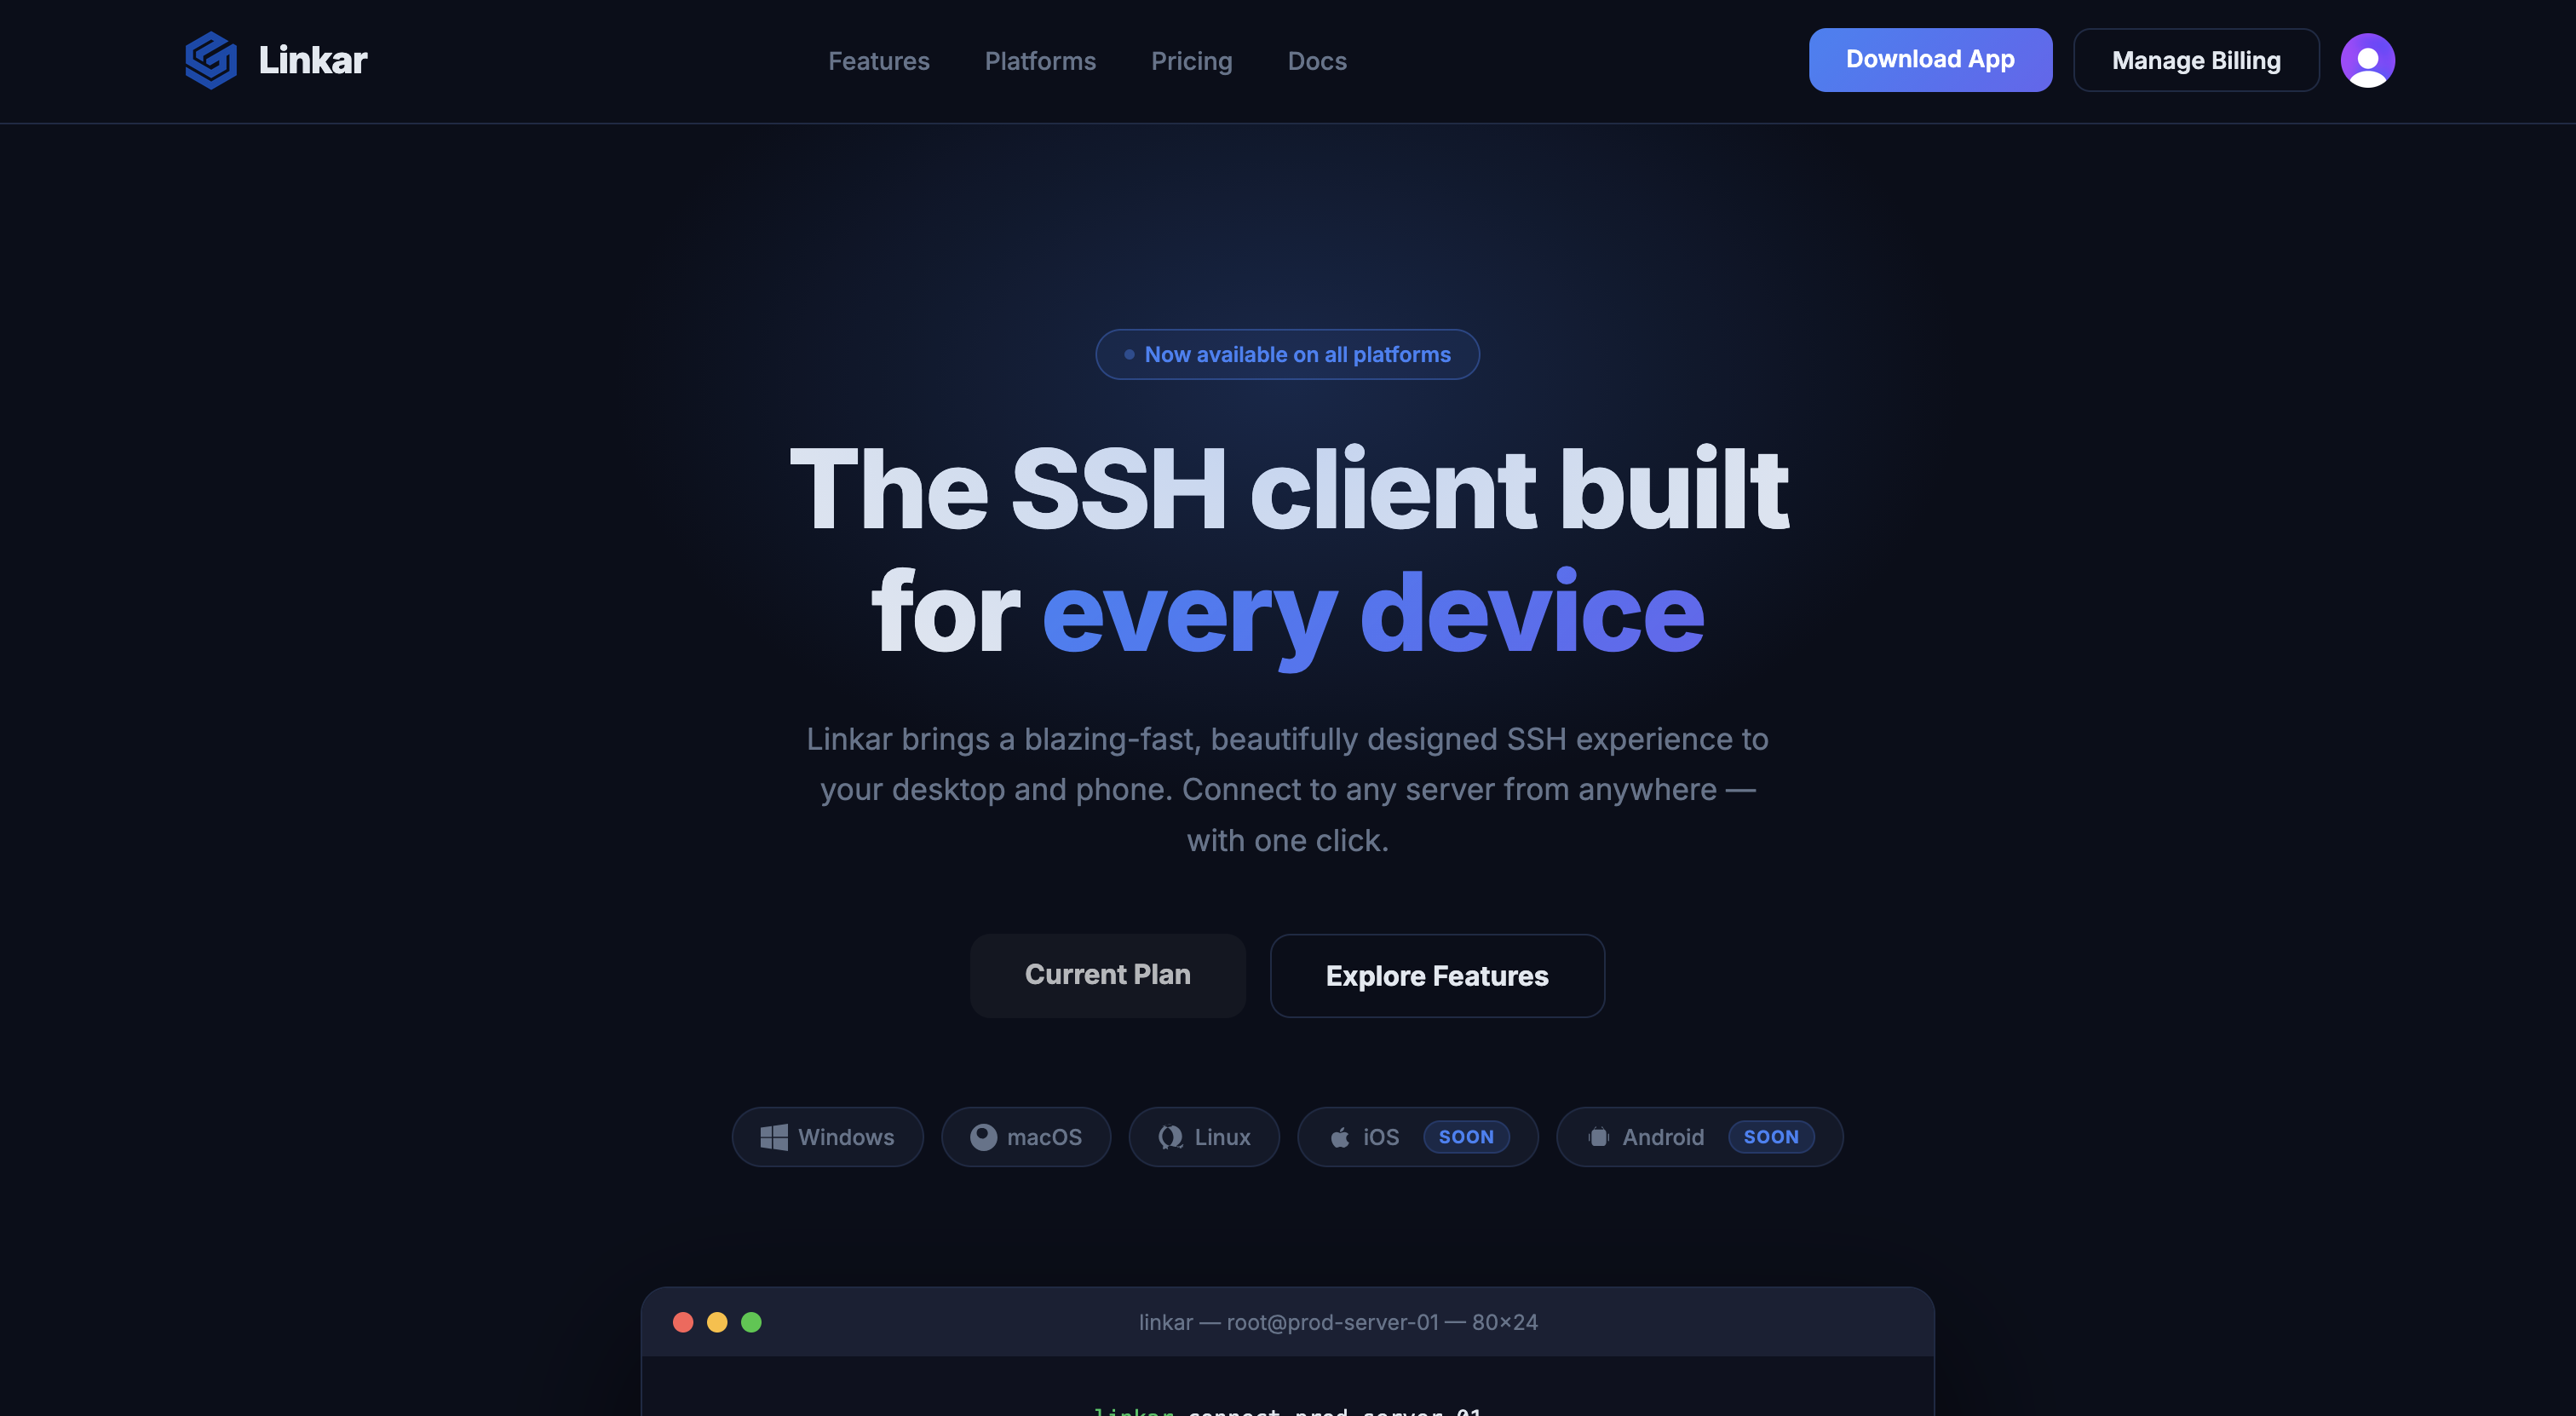
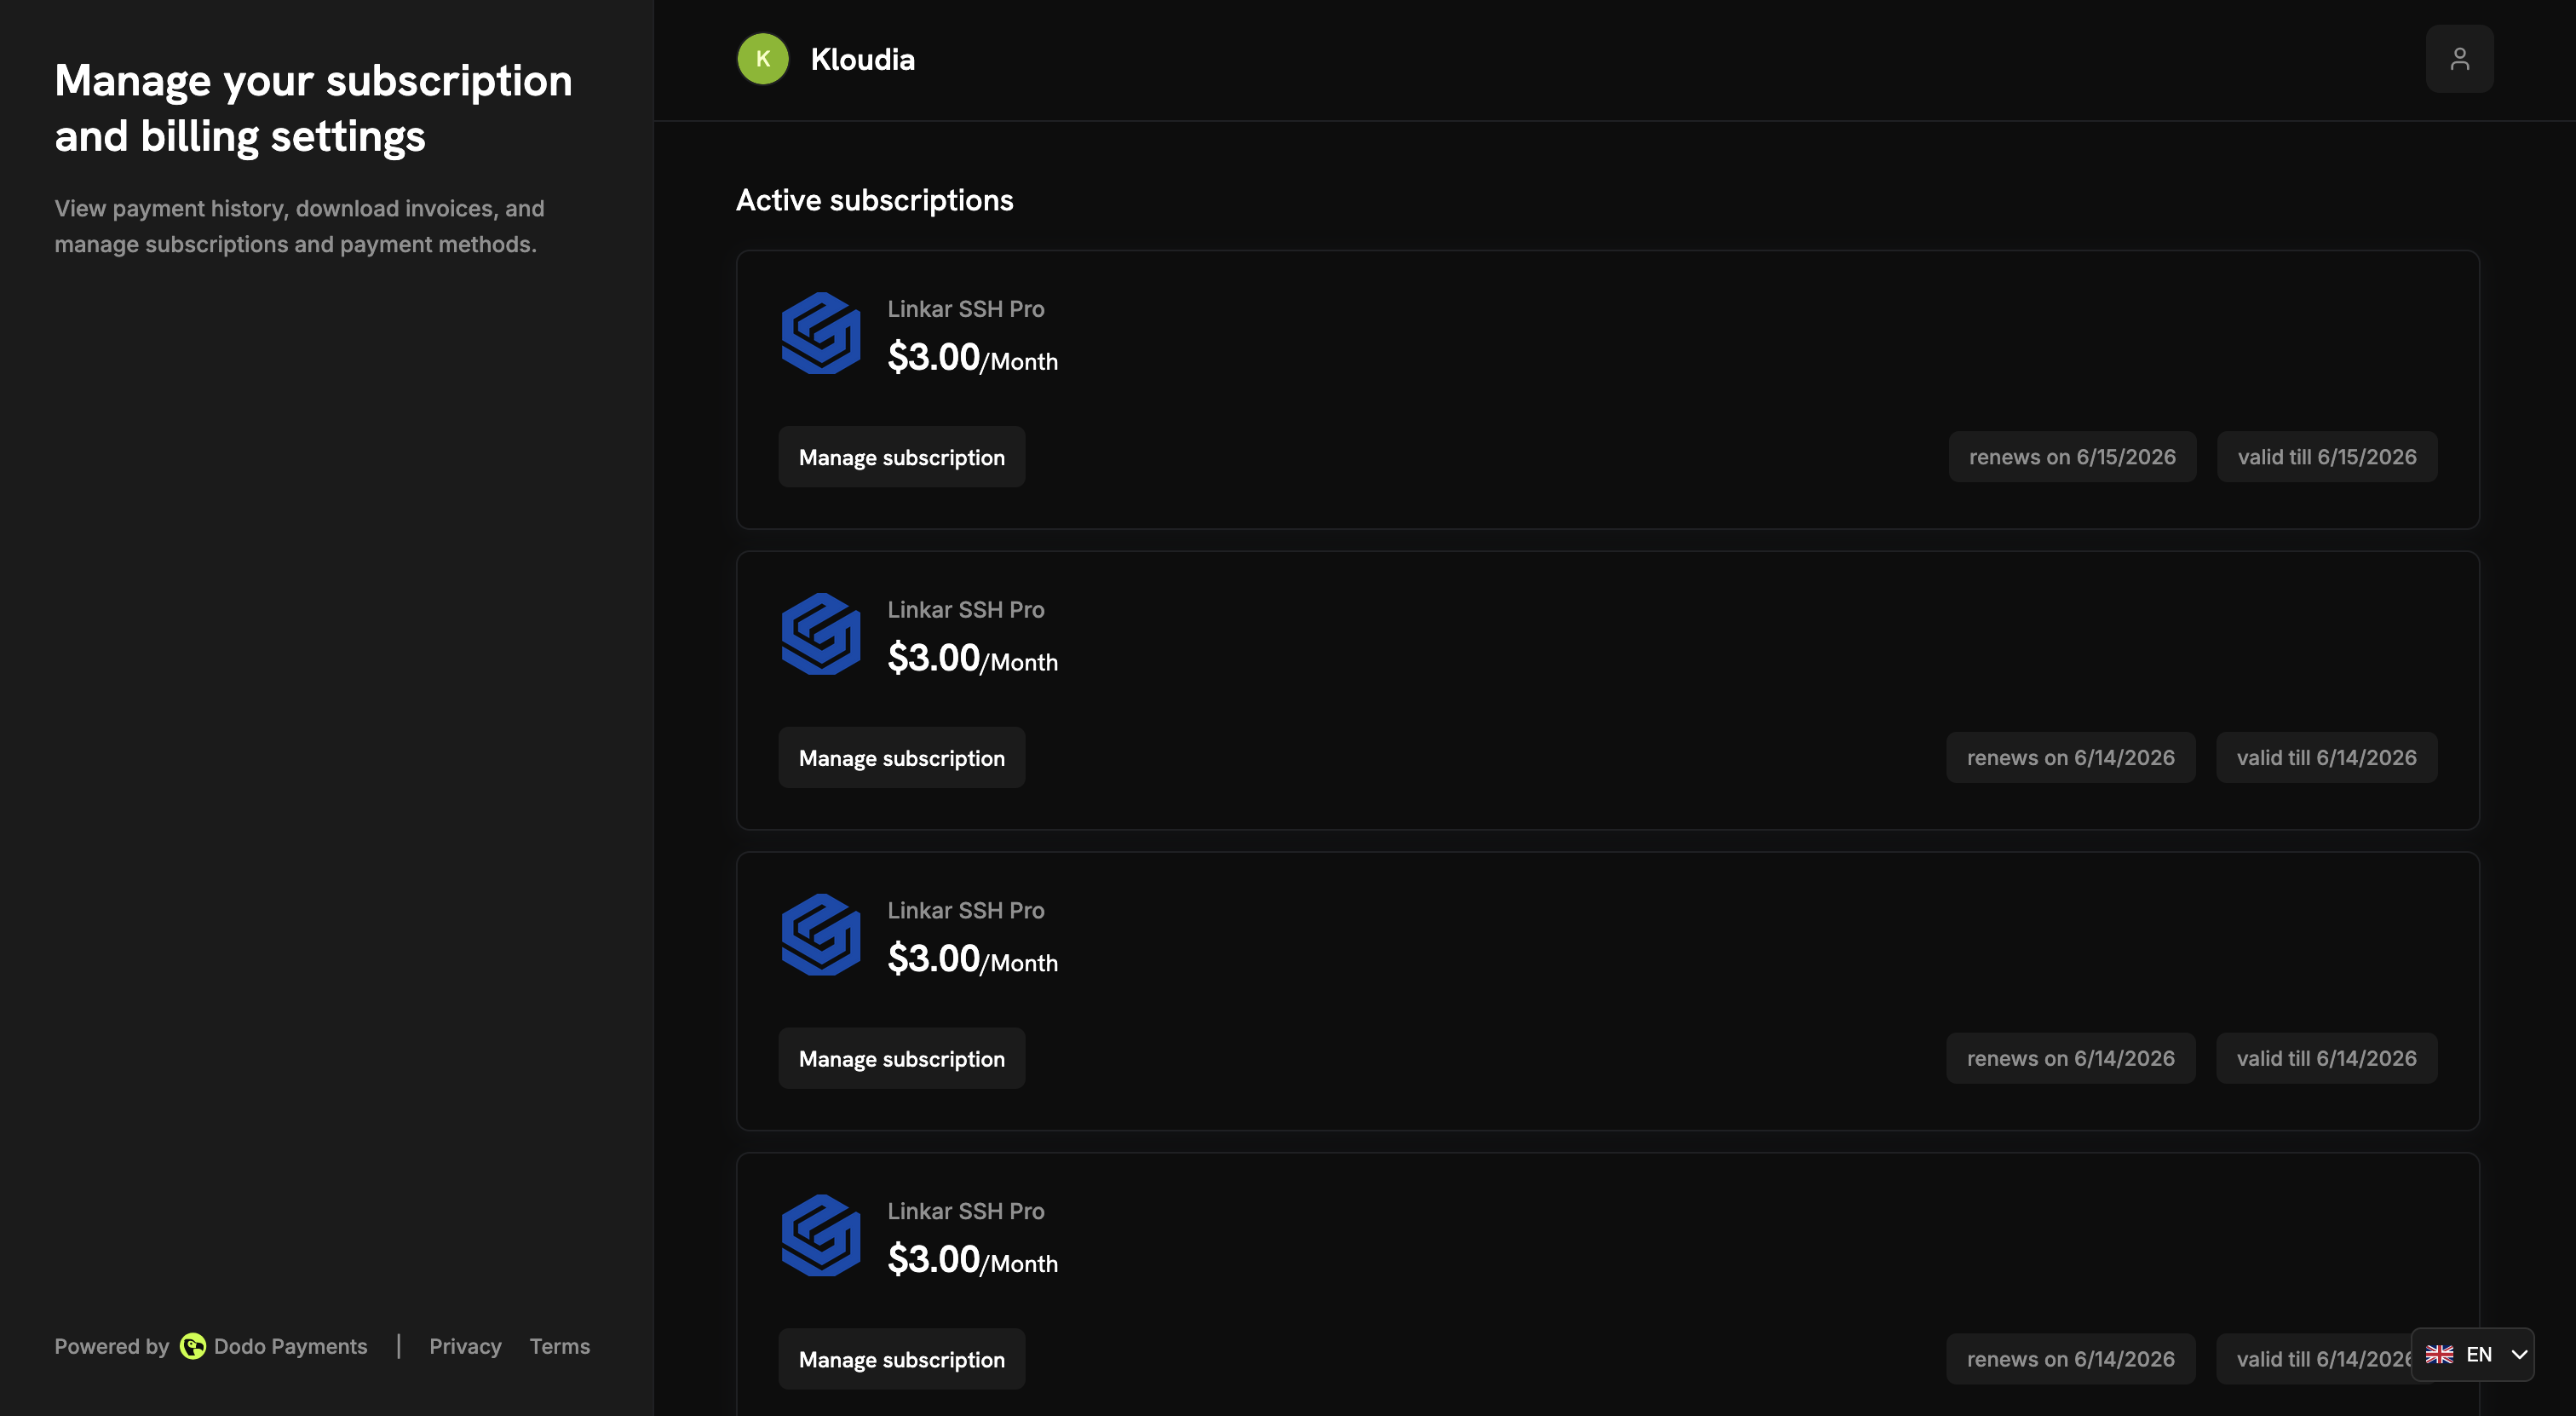
Verify Pro Status in the App
Open the Linkar application on your desktop or mobile device. Your status should now reflect "Pro Tier".
Payment Success
Once your payment is processed, you will see the confirmation screen. Your account is now upgraded to Pro tier.
Thanks for your purchase
You will receive an email confirmation of your subscription. Thank you for supporting Linkar development!
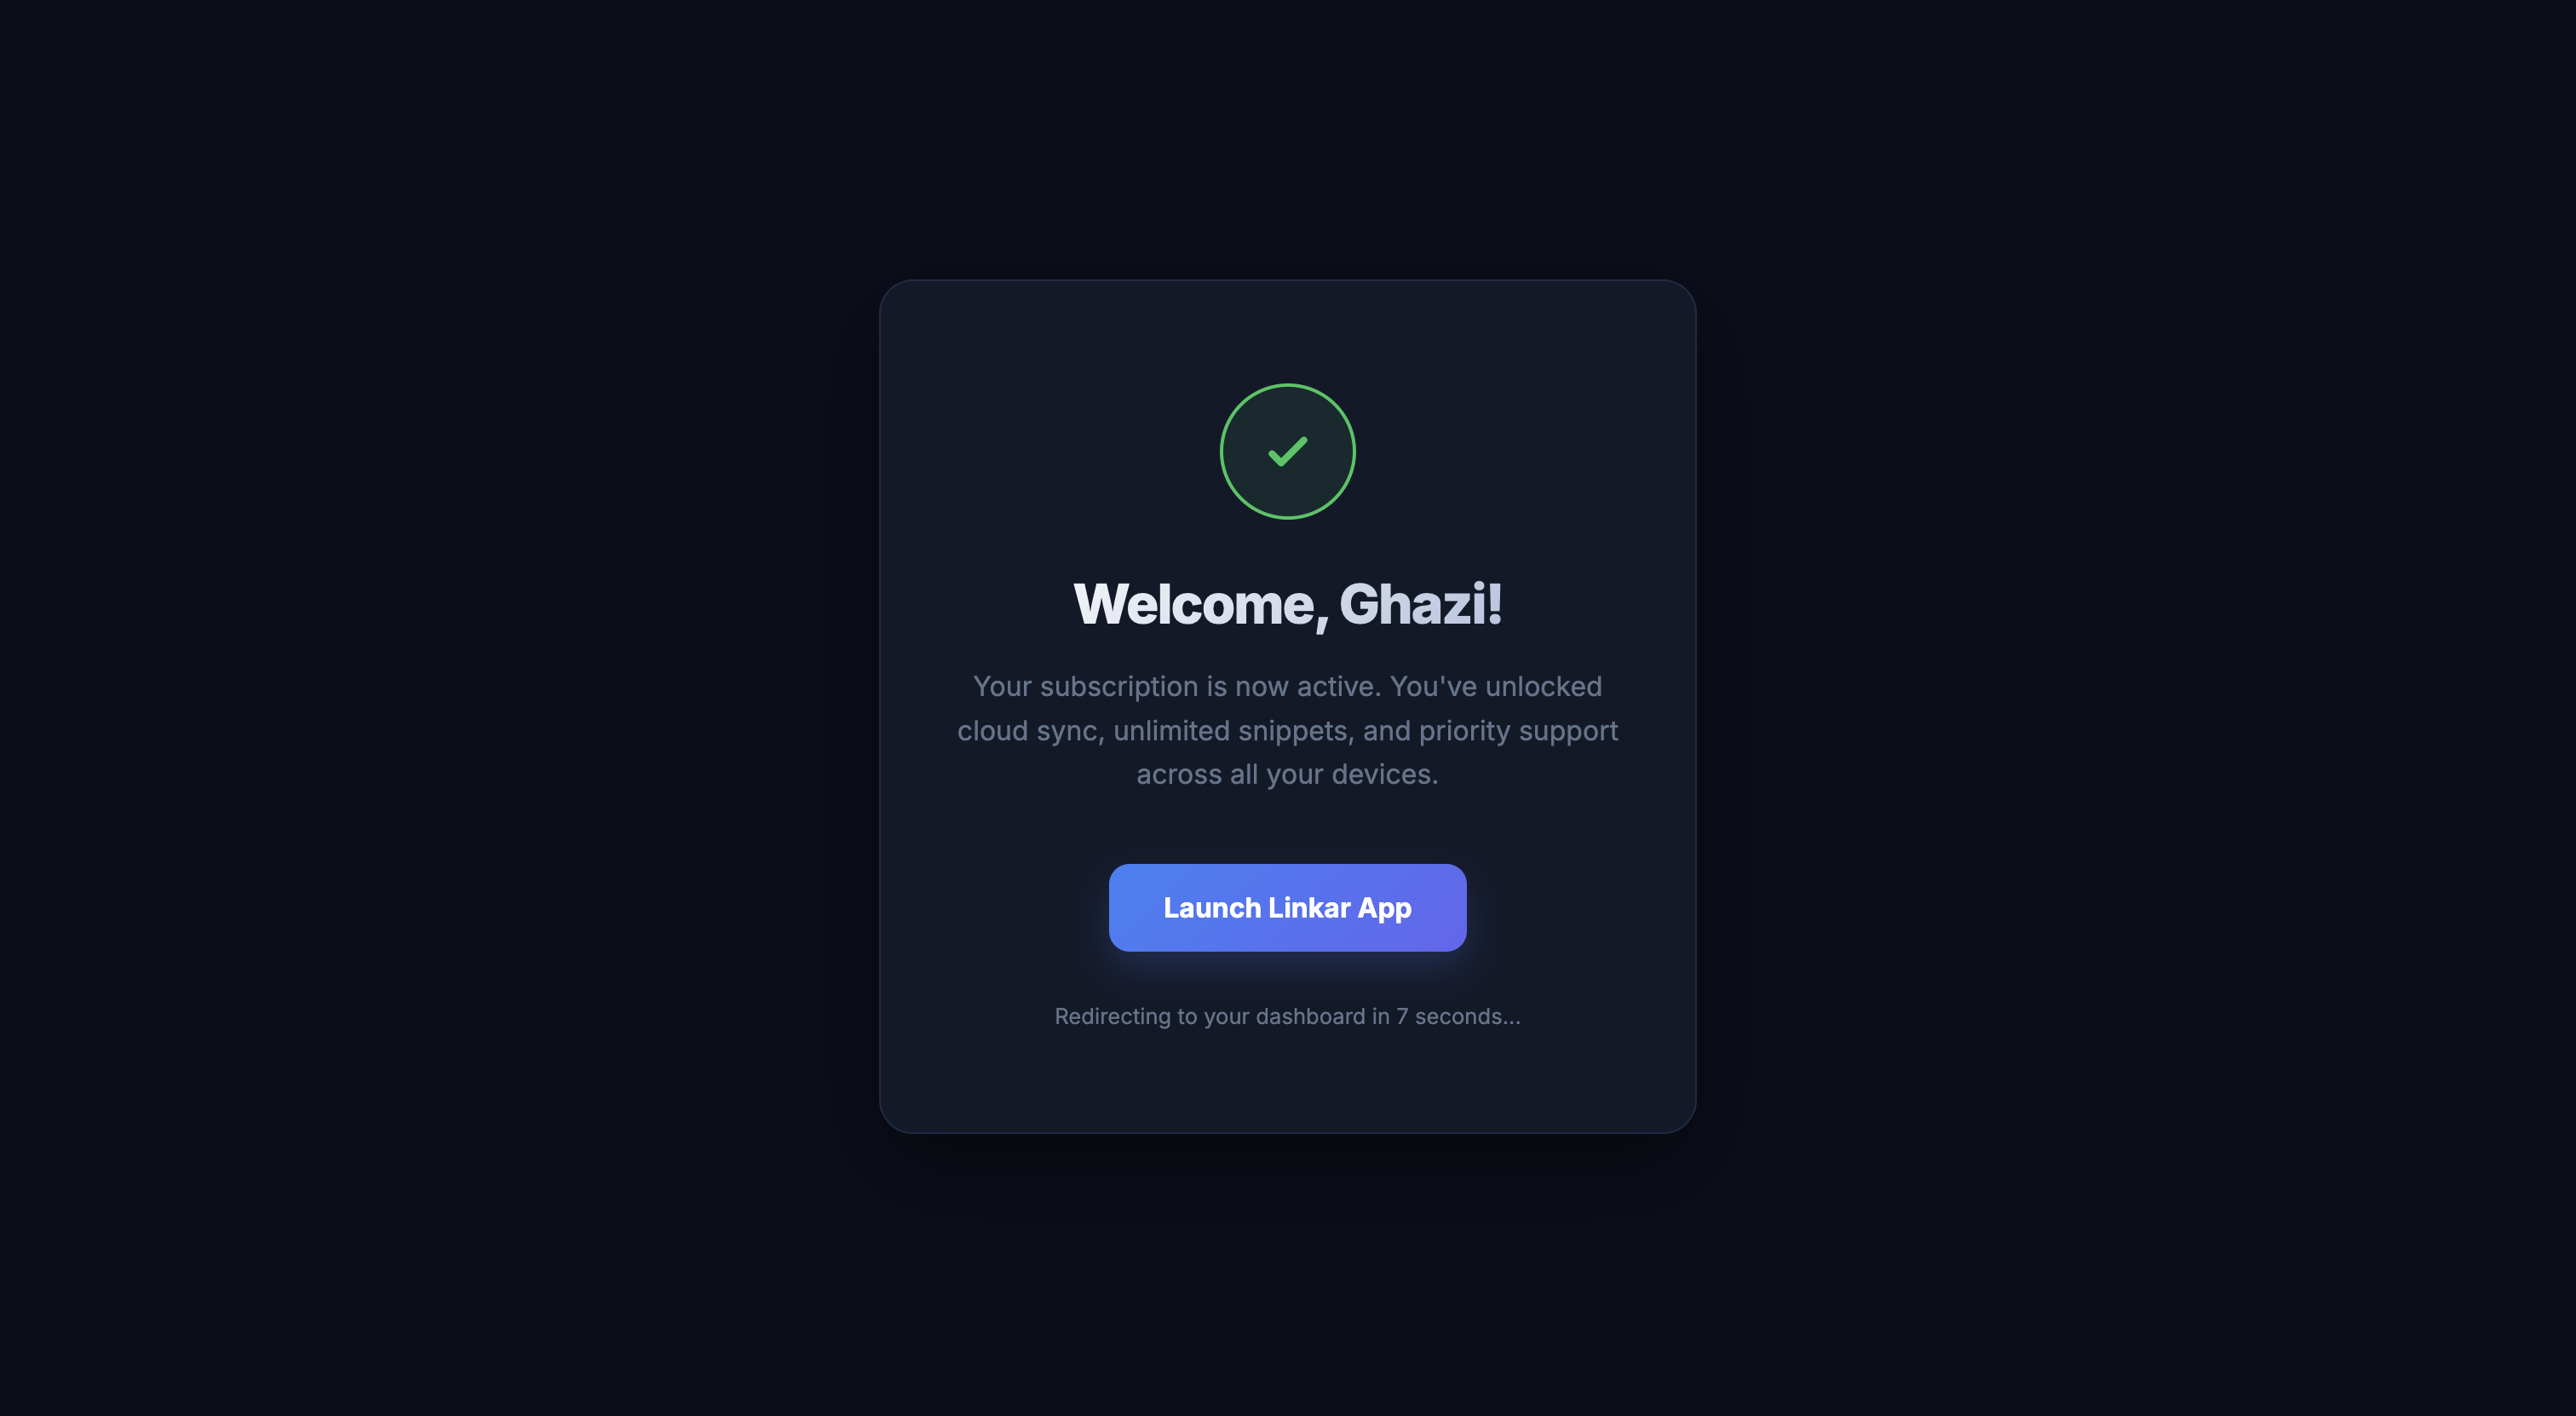
Enjoy Your Pro Features
You're all set! Explore priority support and early access to upcoming features in your Linkar dashboard.
Ready to unlock your full potential?
Join the thousands of developers who have already upgraded to Linkar Pro.
Upgrade to Pro Now