Documentation
Learn how to get the most out of Linkar, the powerful SSH client for every device.
Introduction
Linkar is a modern, cross-platform SSH client designed for speed, security, and ease of use. Whether you're managing a single VPS or an entire data center, Linkar provides the tools you need to stay connected and productive.
Note: Linkar uses end-to-end encryption for all synced data. Your private keys never leave your device unencrypted.
Installation
To install Linkar, you must first register an account on our website. After registration, you can download the application for your platform directly from the Home Page.
Step 1: Sign up or Sign in to your Linkar account.
Step 2: Navigate to the Home Page and click the "Download Free" button.
Step 3: Choose your platform and run the installer.
macOS
Download the DMG from our website and drag Linkar to your Applications folder.
# Using Homebrew (coming soon)
brew install linkar
Windows
Run the .exe installer and follow the on-screen instructions.
Linux
We provide AppImage, .deb, and .rpm packages for various distributions.
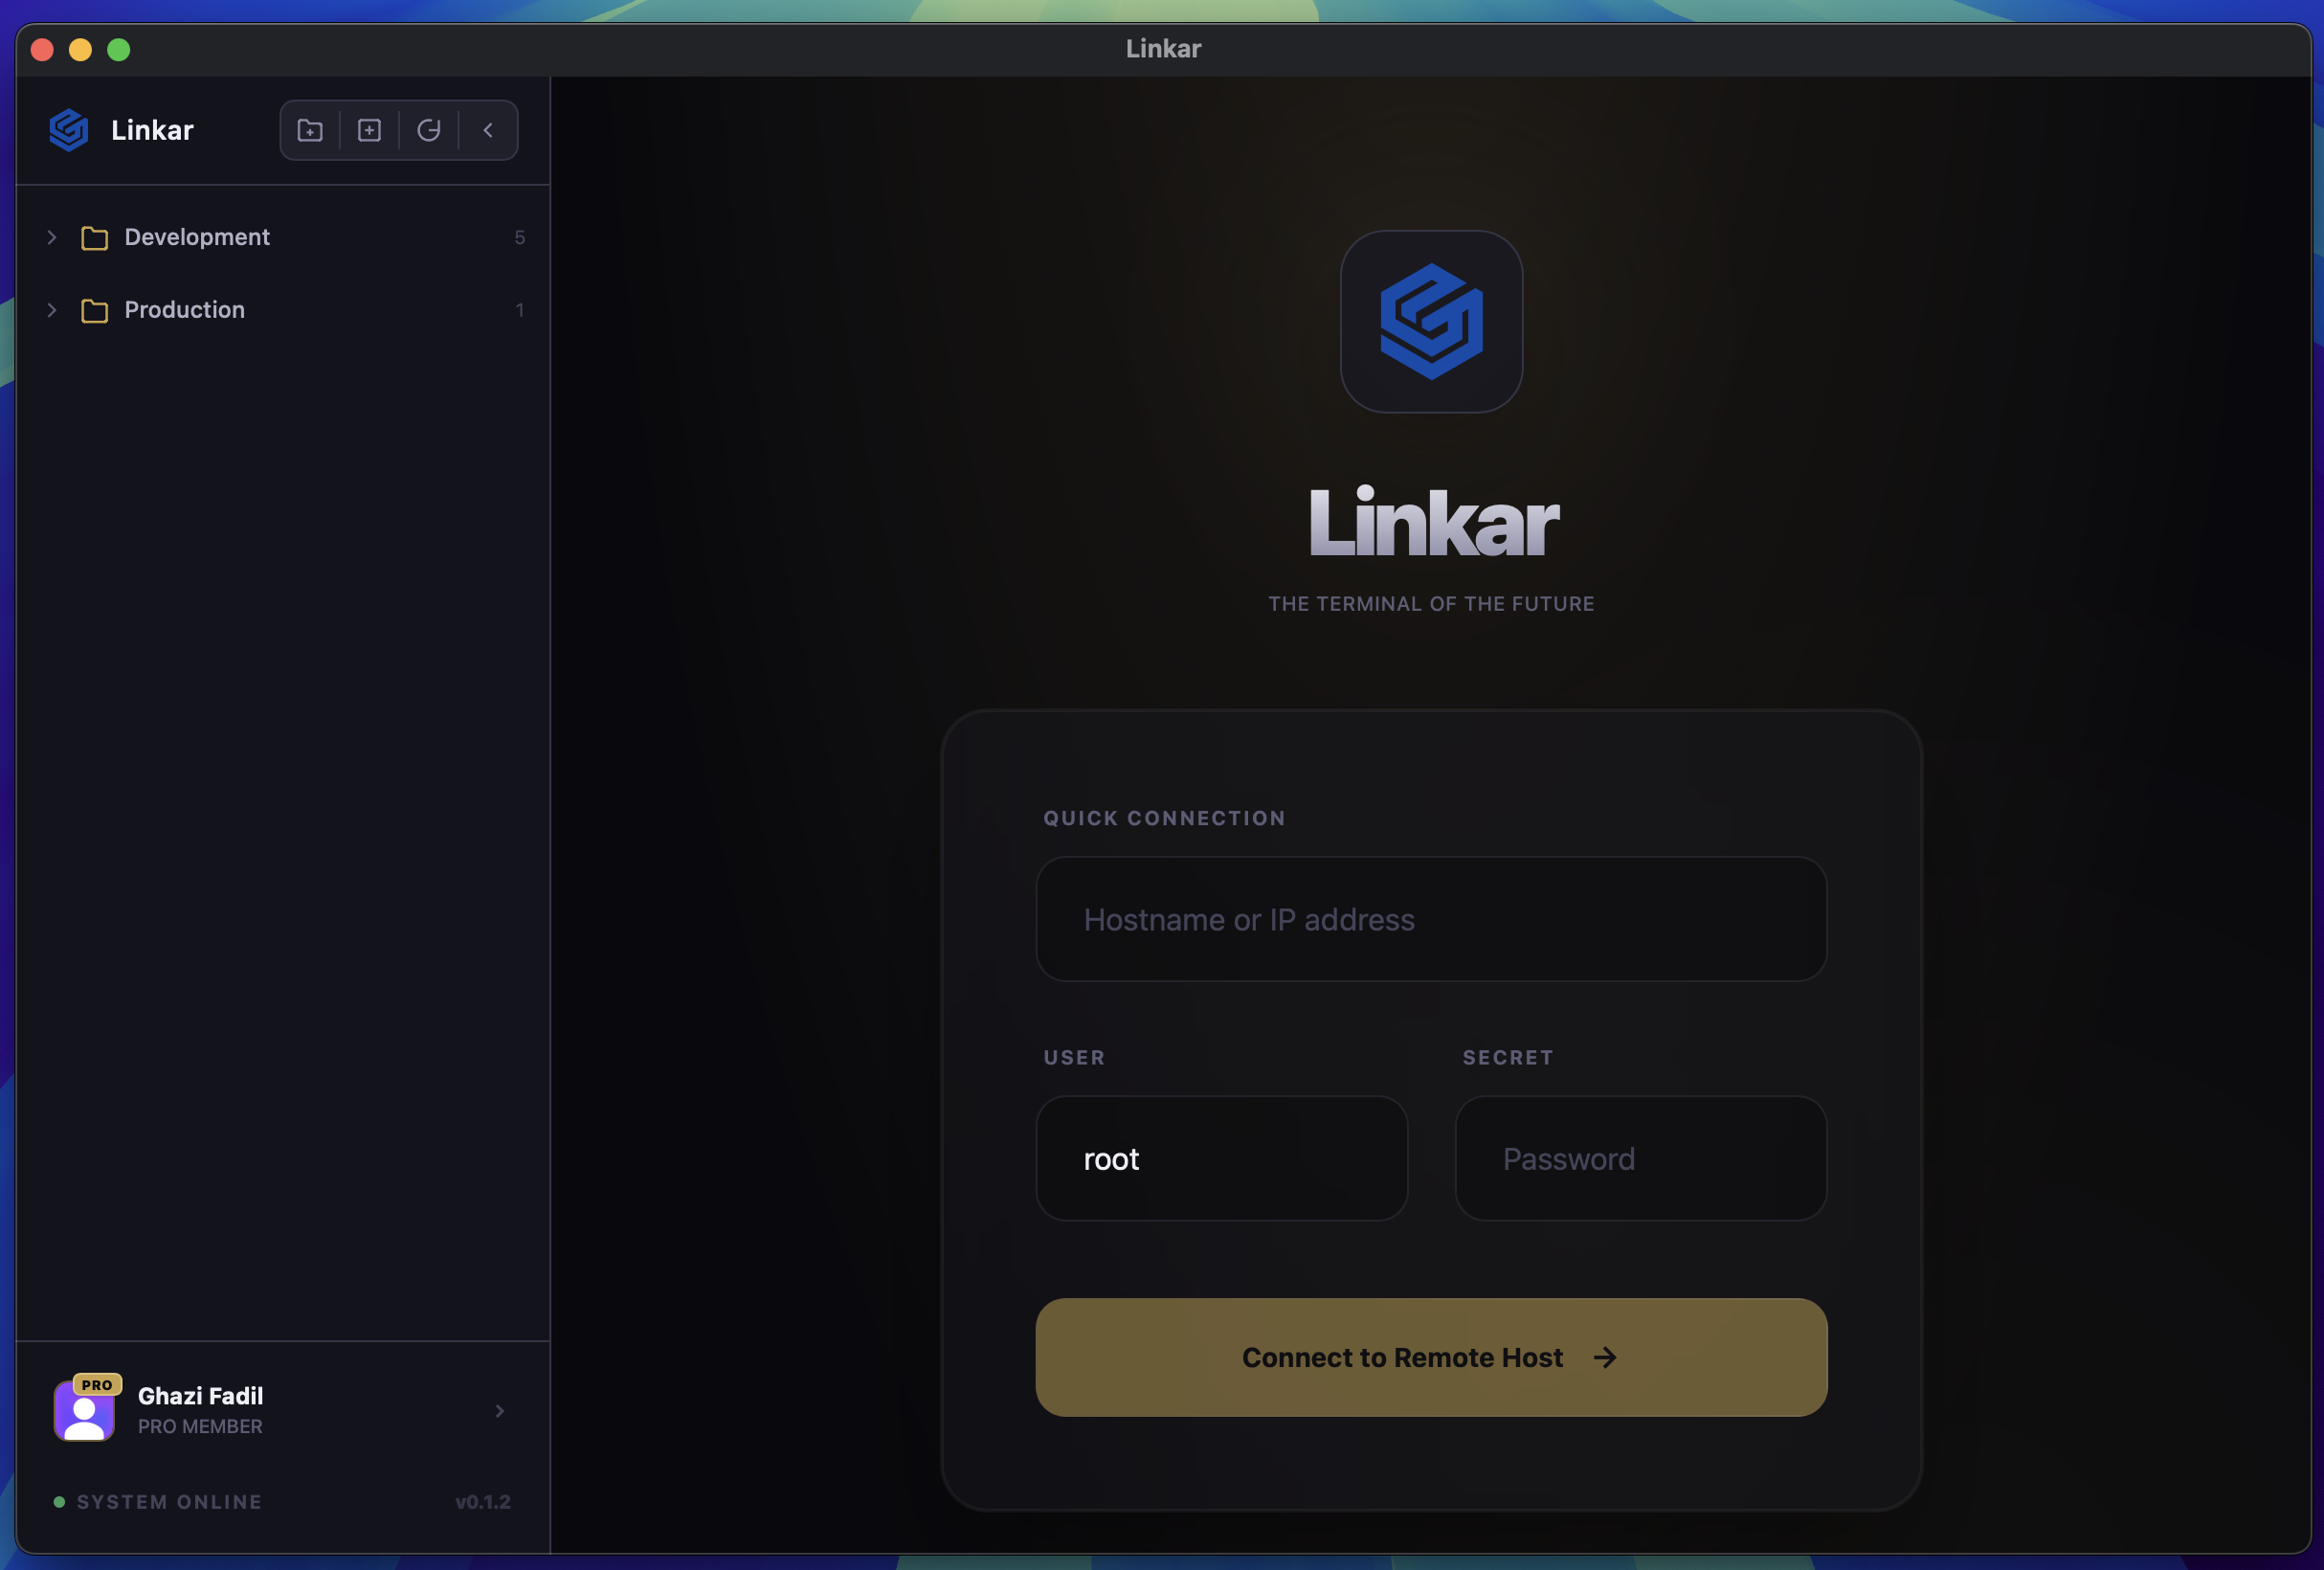
Quick Start
To connect to your first server, click the + Add New Host button on the dashboard.
- Enter a name for your connection (e.g., "Production Web").
- Input the server IP or hostname.
- Specify the port (default is 22).
- Choose your authentication method (Password or SSH Key).
- Click "Save & Connect".
SSH Basics
Linkar supports all standard SSH features, including interactive shell, command execution, and environment variable passing.
Key Management
You can manage your SSH keys in the Identities tab. Linkar supports RSA, Ed25519, and ECDSA keys.
To add a key, you can either generate a new one within Linkar or import your existing id_rsa files.
Secure Identity Tunneling
Bypass traditional VPNs and connect to isolated networks using zero-trust tunnels. Linkar seamlessly integrates with modern tunnel providers.
Cloudflare Access
Connect directly to Cloudflare Tunnels without exposing your servers to the public internet. Ensure cloudflared is installed on your local machine, select "Cloudflare Access" as the tunnel type when creating a host, and Linkar will automatically proxy the SSH connection through Cloudflare.
Biometric Security
For high-security environments, you can enable Require Biometrics on any host connection. This forces a TouchID, FaceID, or OS-level prompt before the SSH session is allowed to initialize, adding a hardware-backed MFA layer to your infrastructure access.
Live Pair Debugging
Collaborate on terminal sessions in real-time without screen-sharing. Linkar uses low-latency WebSockets to stream terminal data securely.
Host a Session
While connected to a server, click the Share Session button in the top right. Linkar will generate a unique 6-digit Room Code. You can toggle guest permissions between "View Only" (read-only) and "Full Access" (allows guests to type commands).
Join a Session
To join a colleague's session, either click the Join Shared Session icon in the sidebar or enter the Room Code directly in the Welcome Dashboard. You will instantly see the host's terminal output synchronized perfectly.